
I've been asked if I could explain through a quick tutorial, how to Re texture through Photoshop so....
Before we start you'll need to have this plugin installed:
https://developer.nvidia.com/nvidia-texture-tools-adobe-photoshop
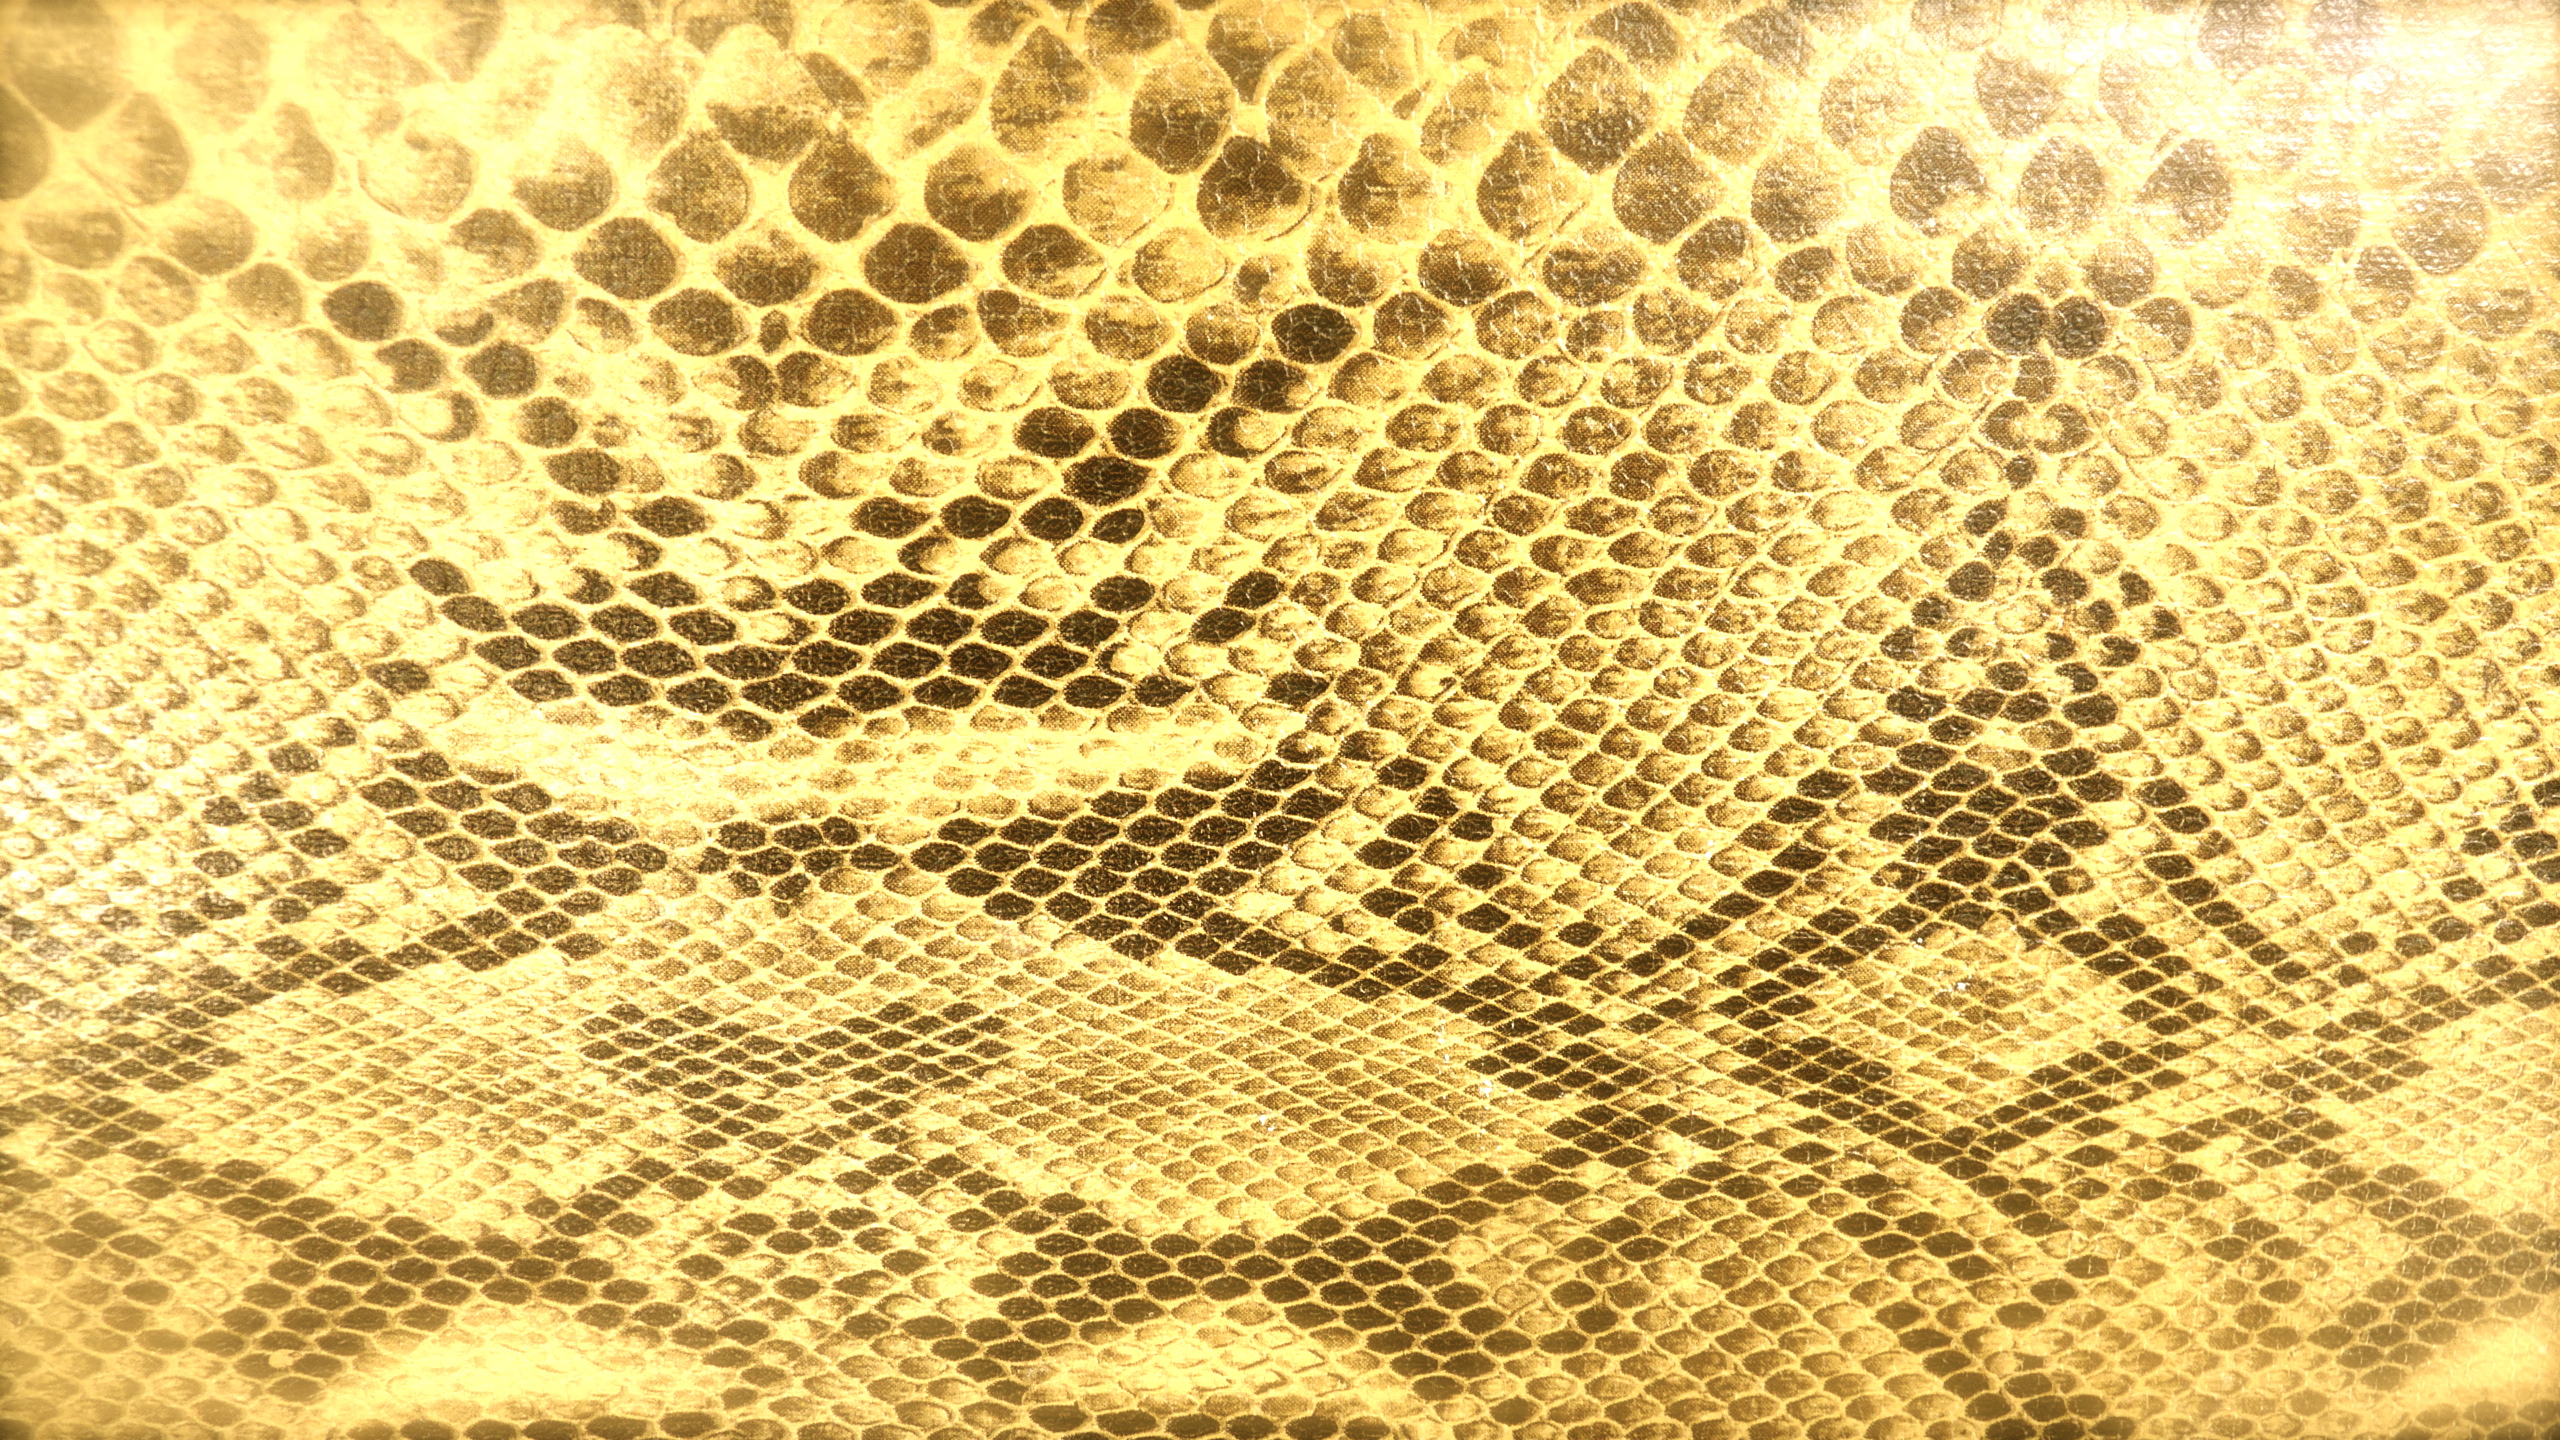
This is the texture we wish to use:
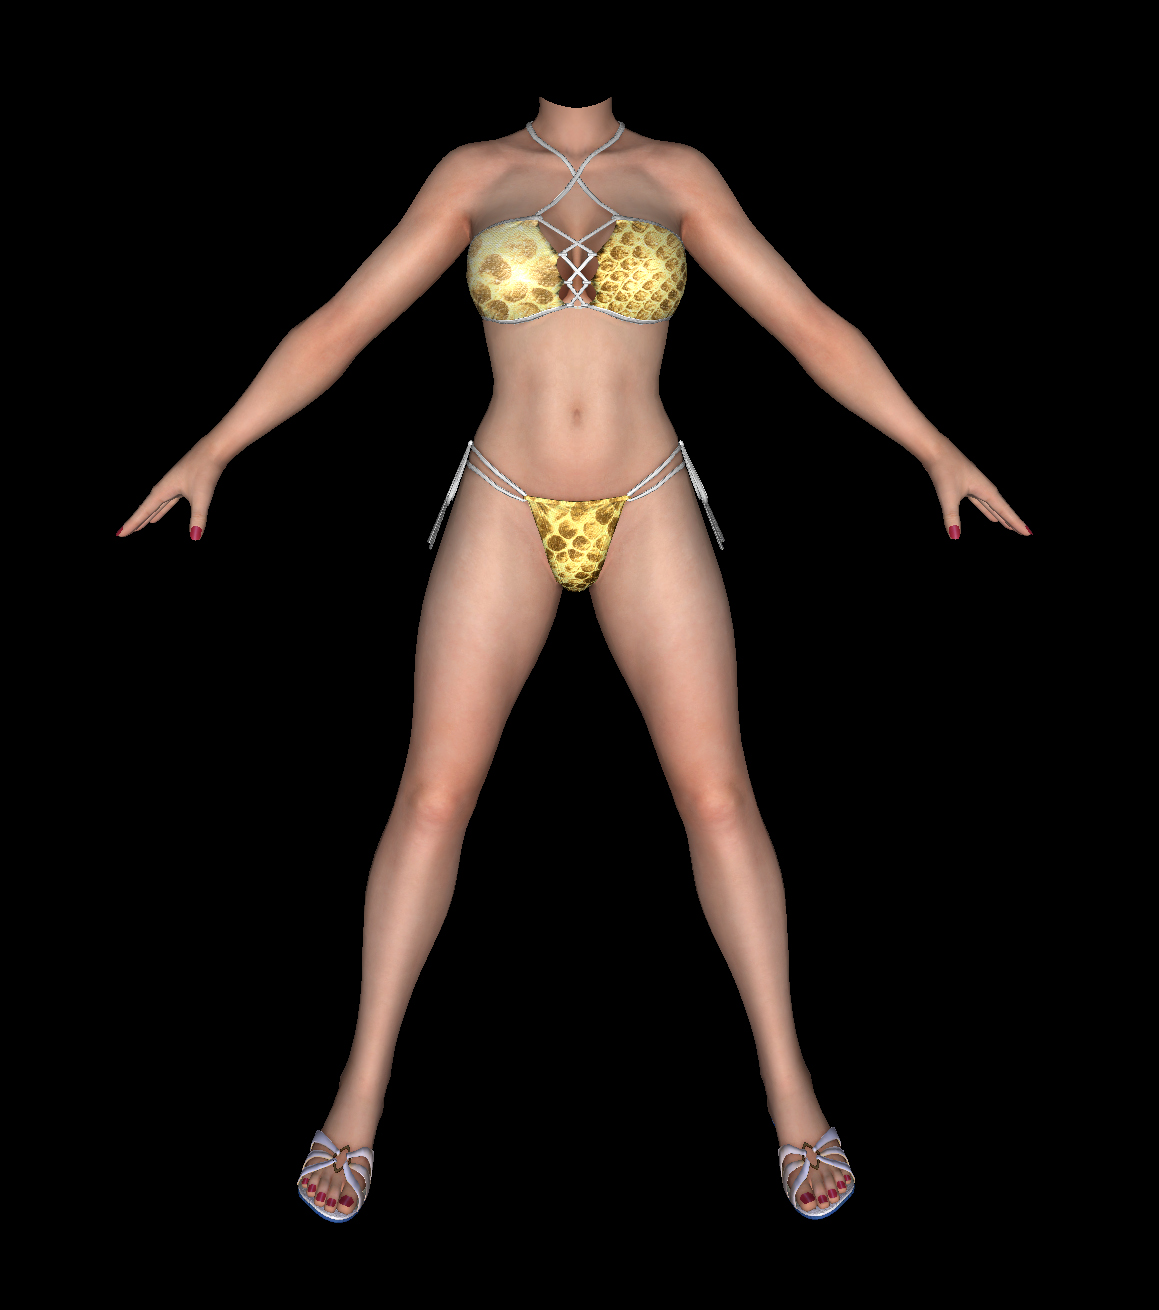
but there is a problem in that we need the snake skin to be the right size otherwise it will end up looking like this:
So first we're going to create a new snake skin image. If you select all of the snake skin image using the rectangular marquee tool shown:
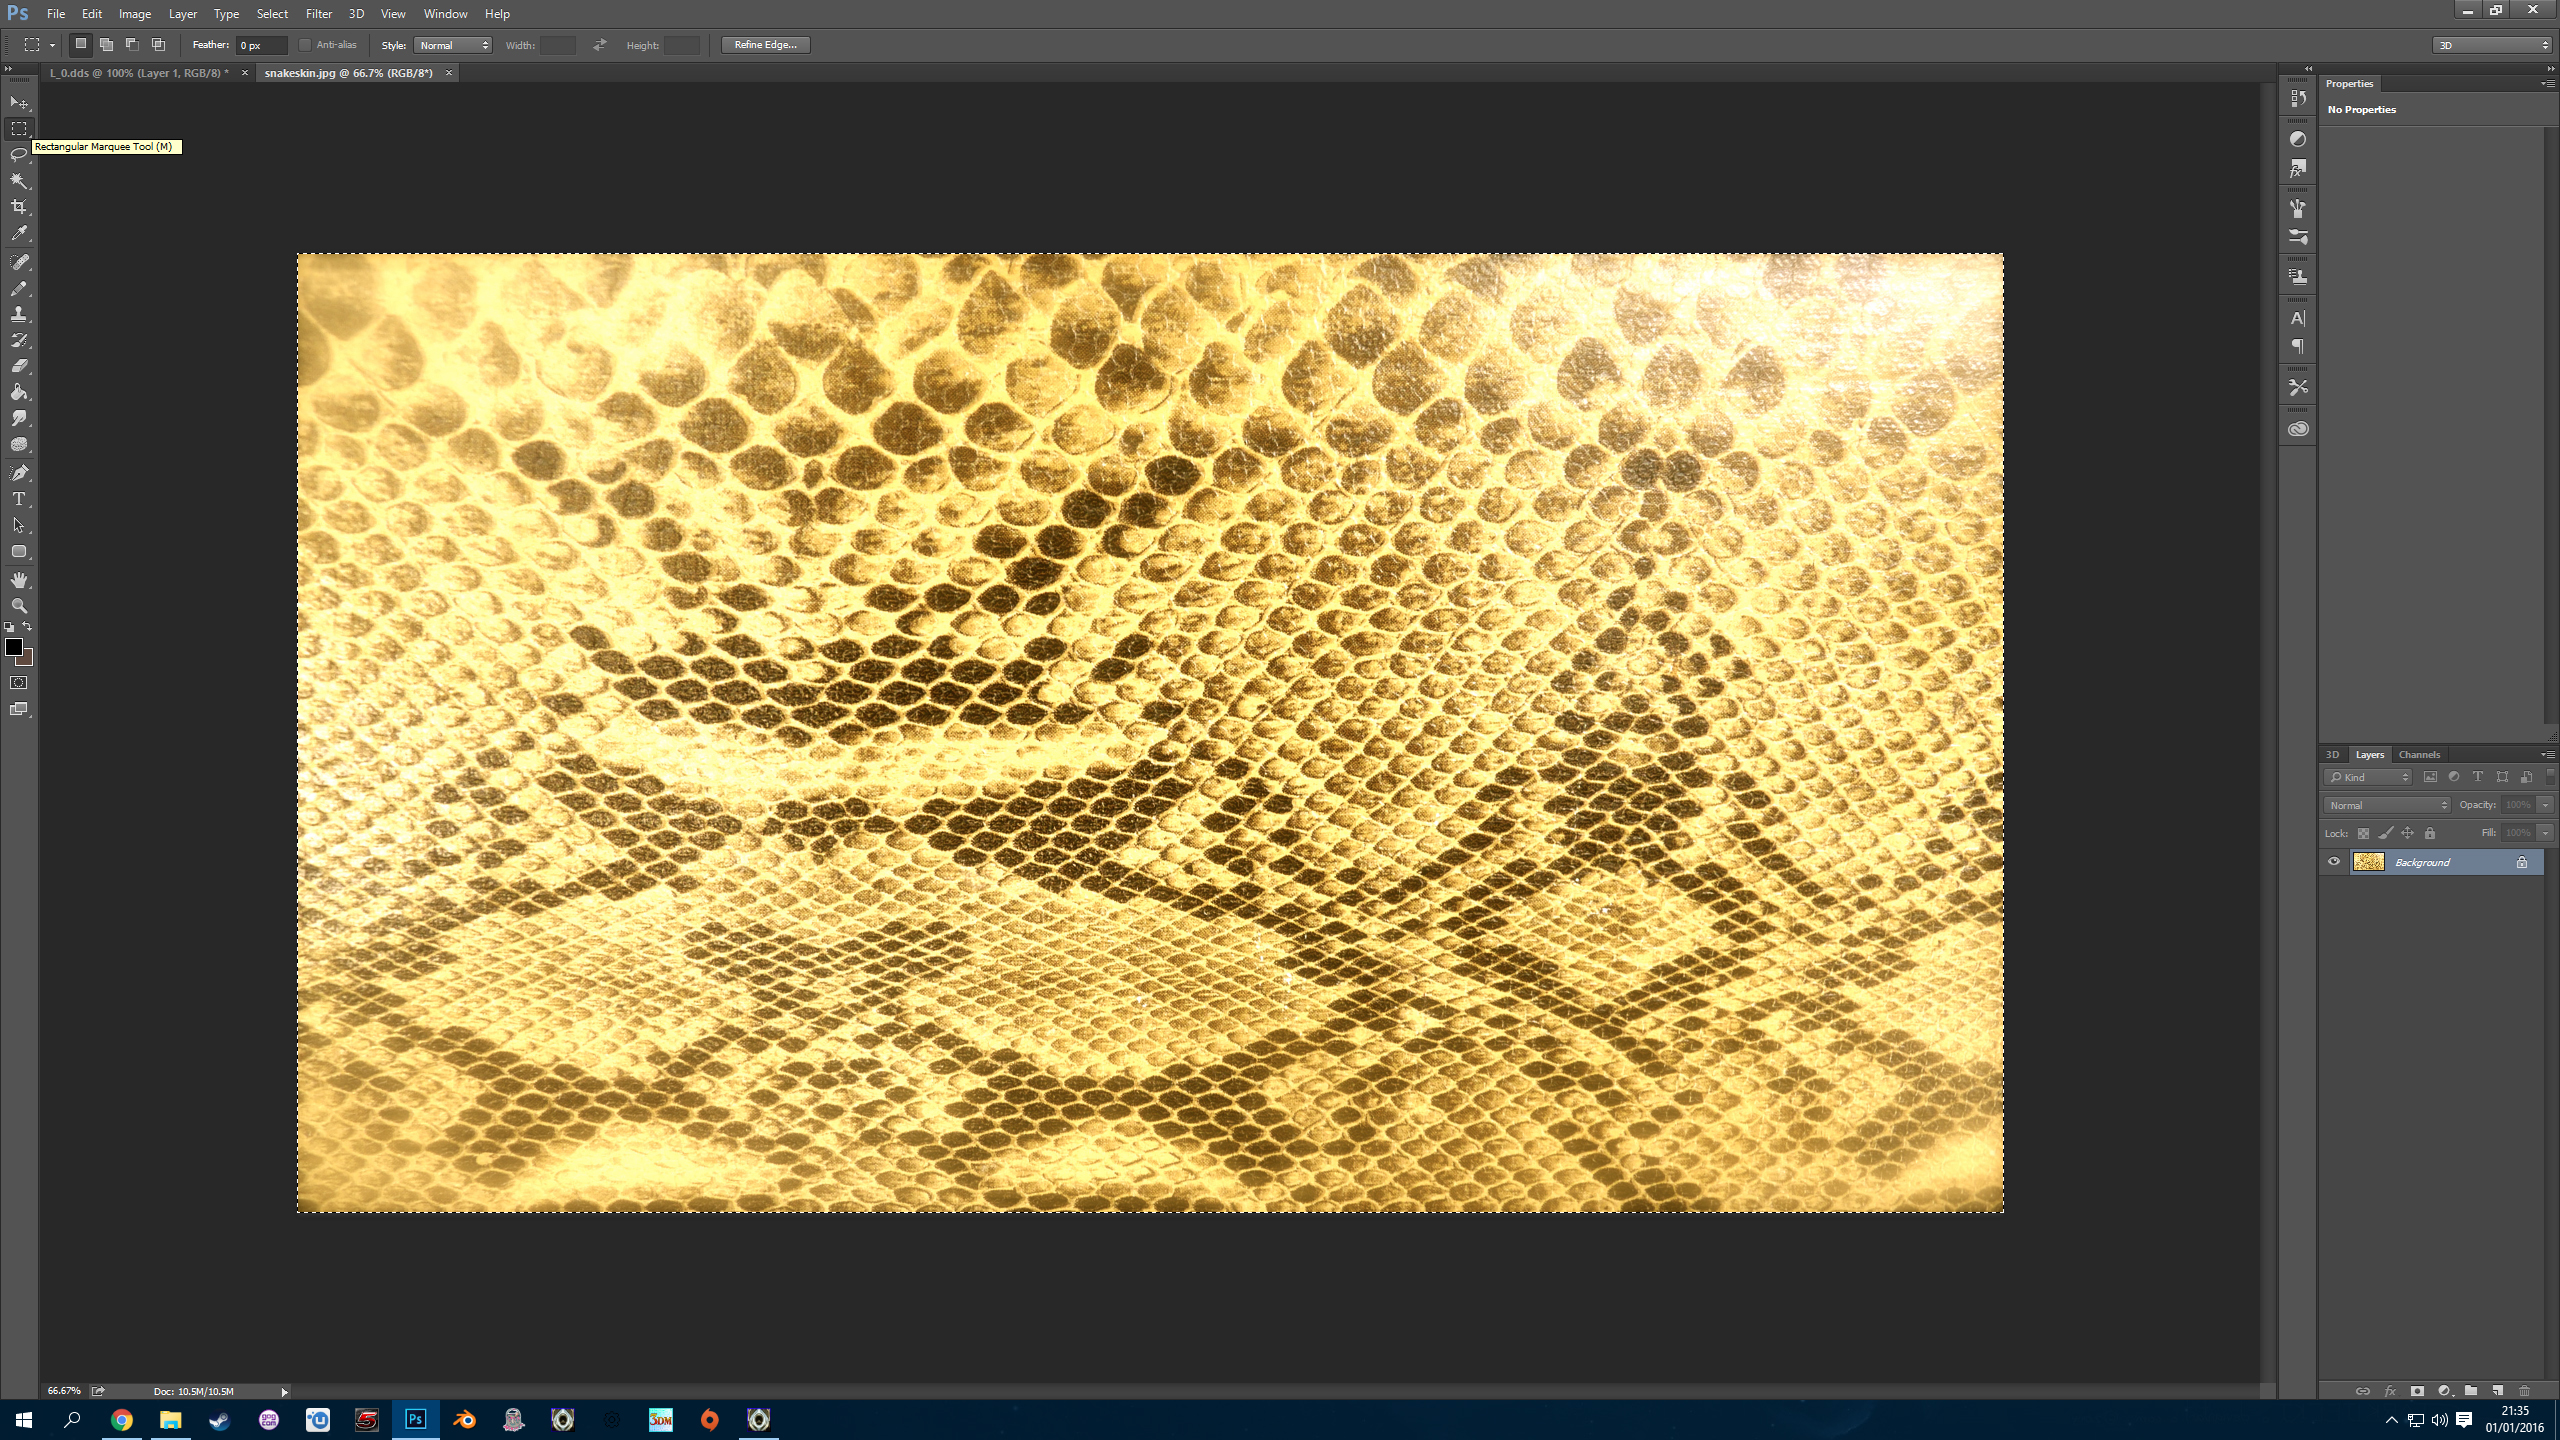
then select edit menu, copy.
Now select file menu, new. This will create and image the size of which you have just copied so change the size to 10000 and 10000 like this:
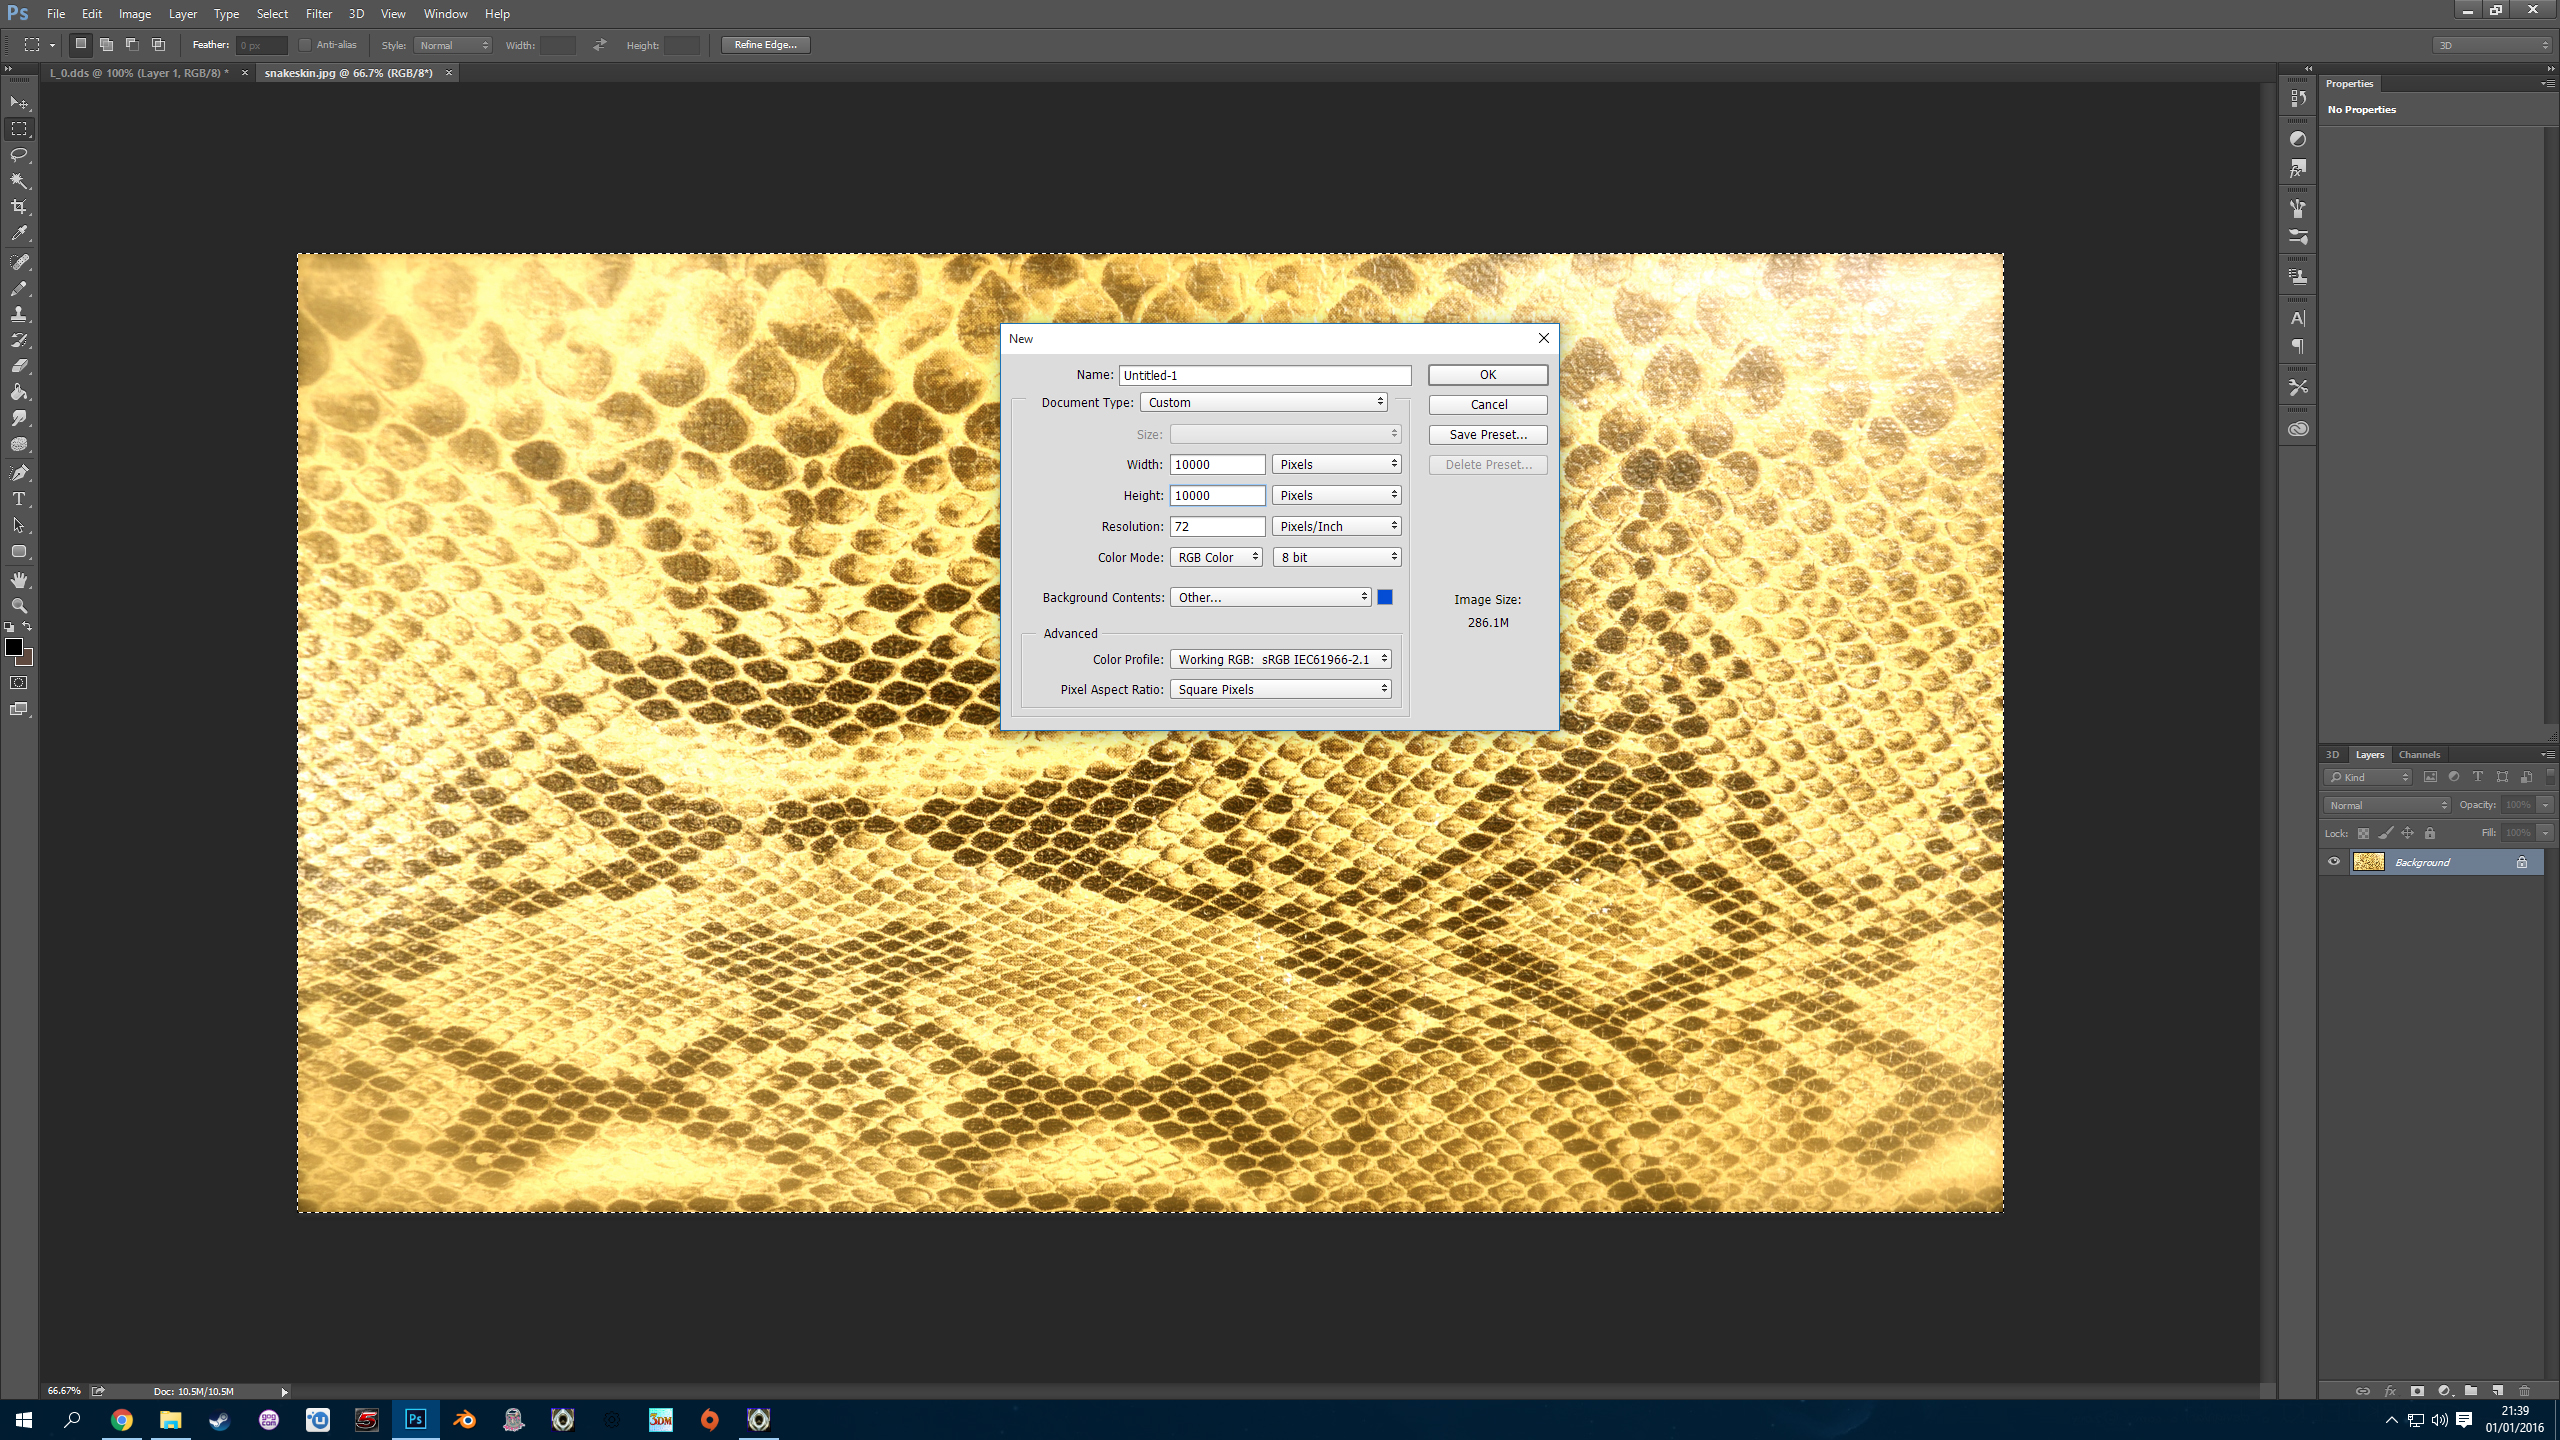
Select OK.
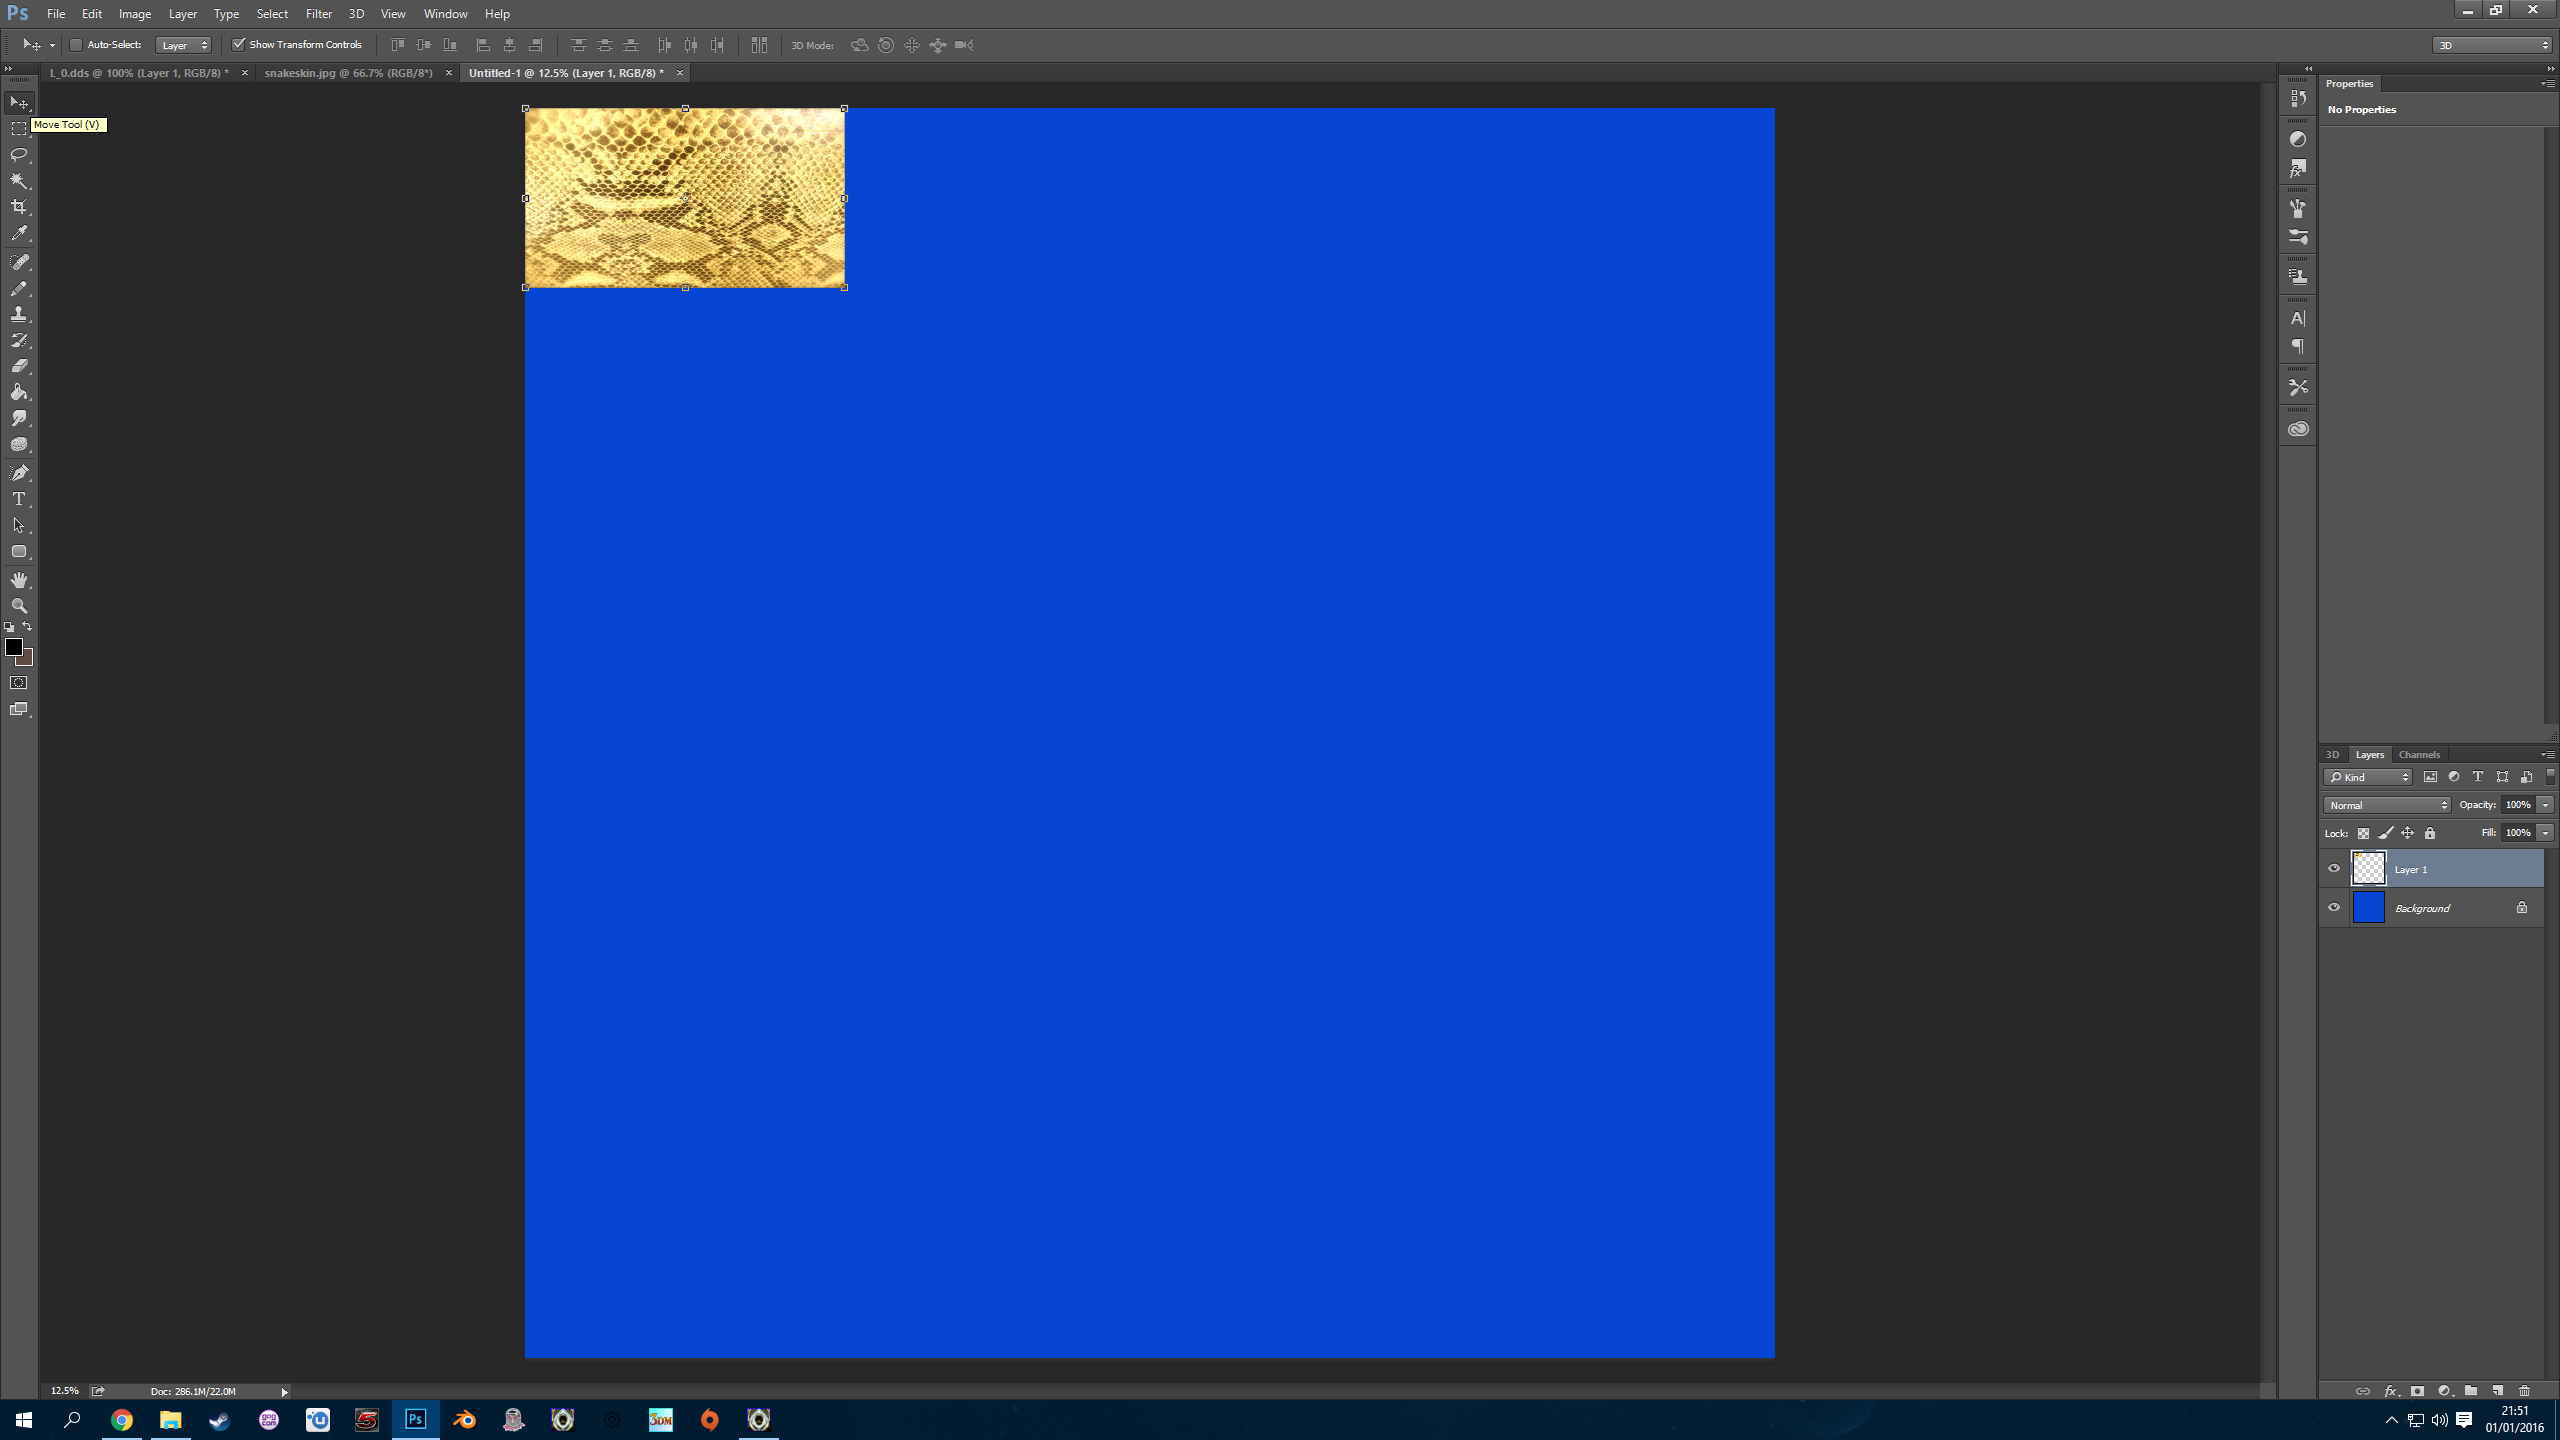
So you should now have a blank canvas, select edit menu, paste then select the move tool, pick your texture up and move it to the top left of your blank canvas.
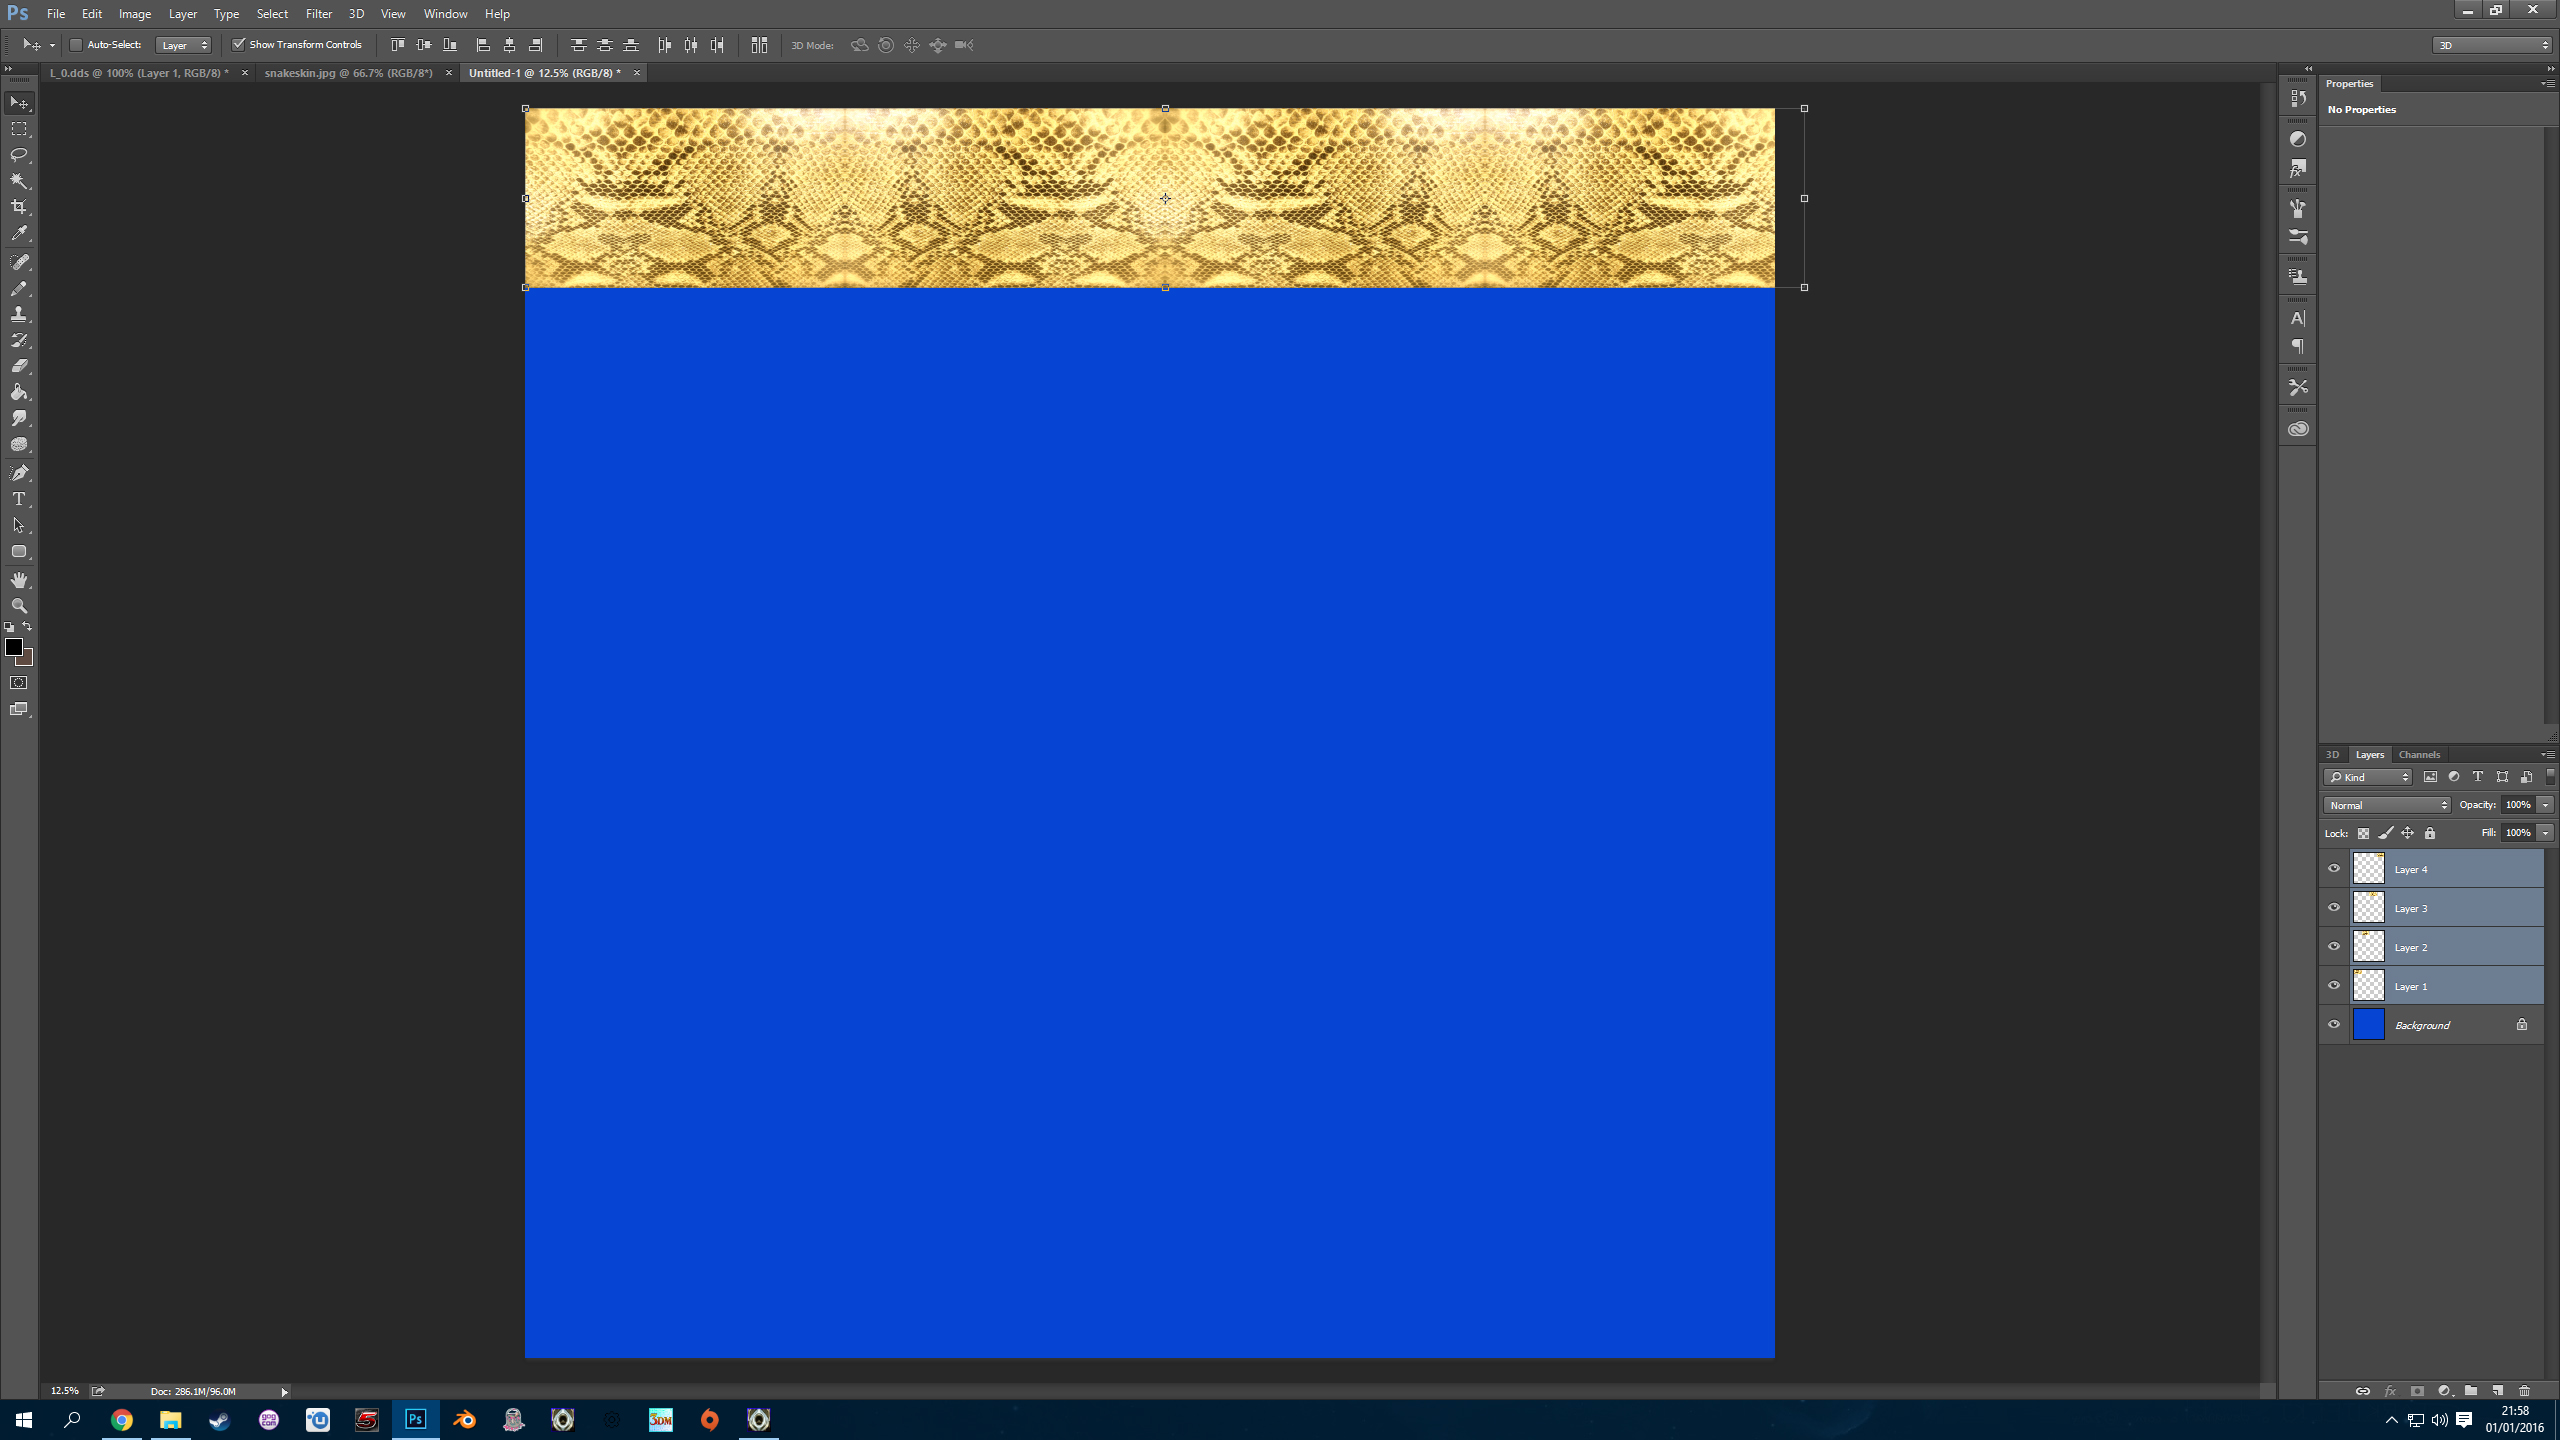
Select edit menu, paste, move tool and place the next texture beside the other one. Now this texture is not uniform so we will have to flip it about to try and make them work better together. Select edit menu, transform, flip horizontal. Now to two texture look a little better together. Do this again until you have this image:
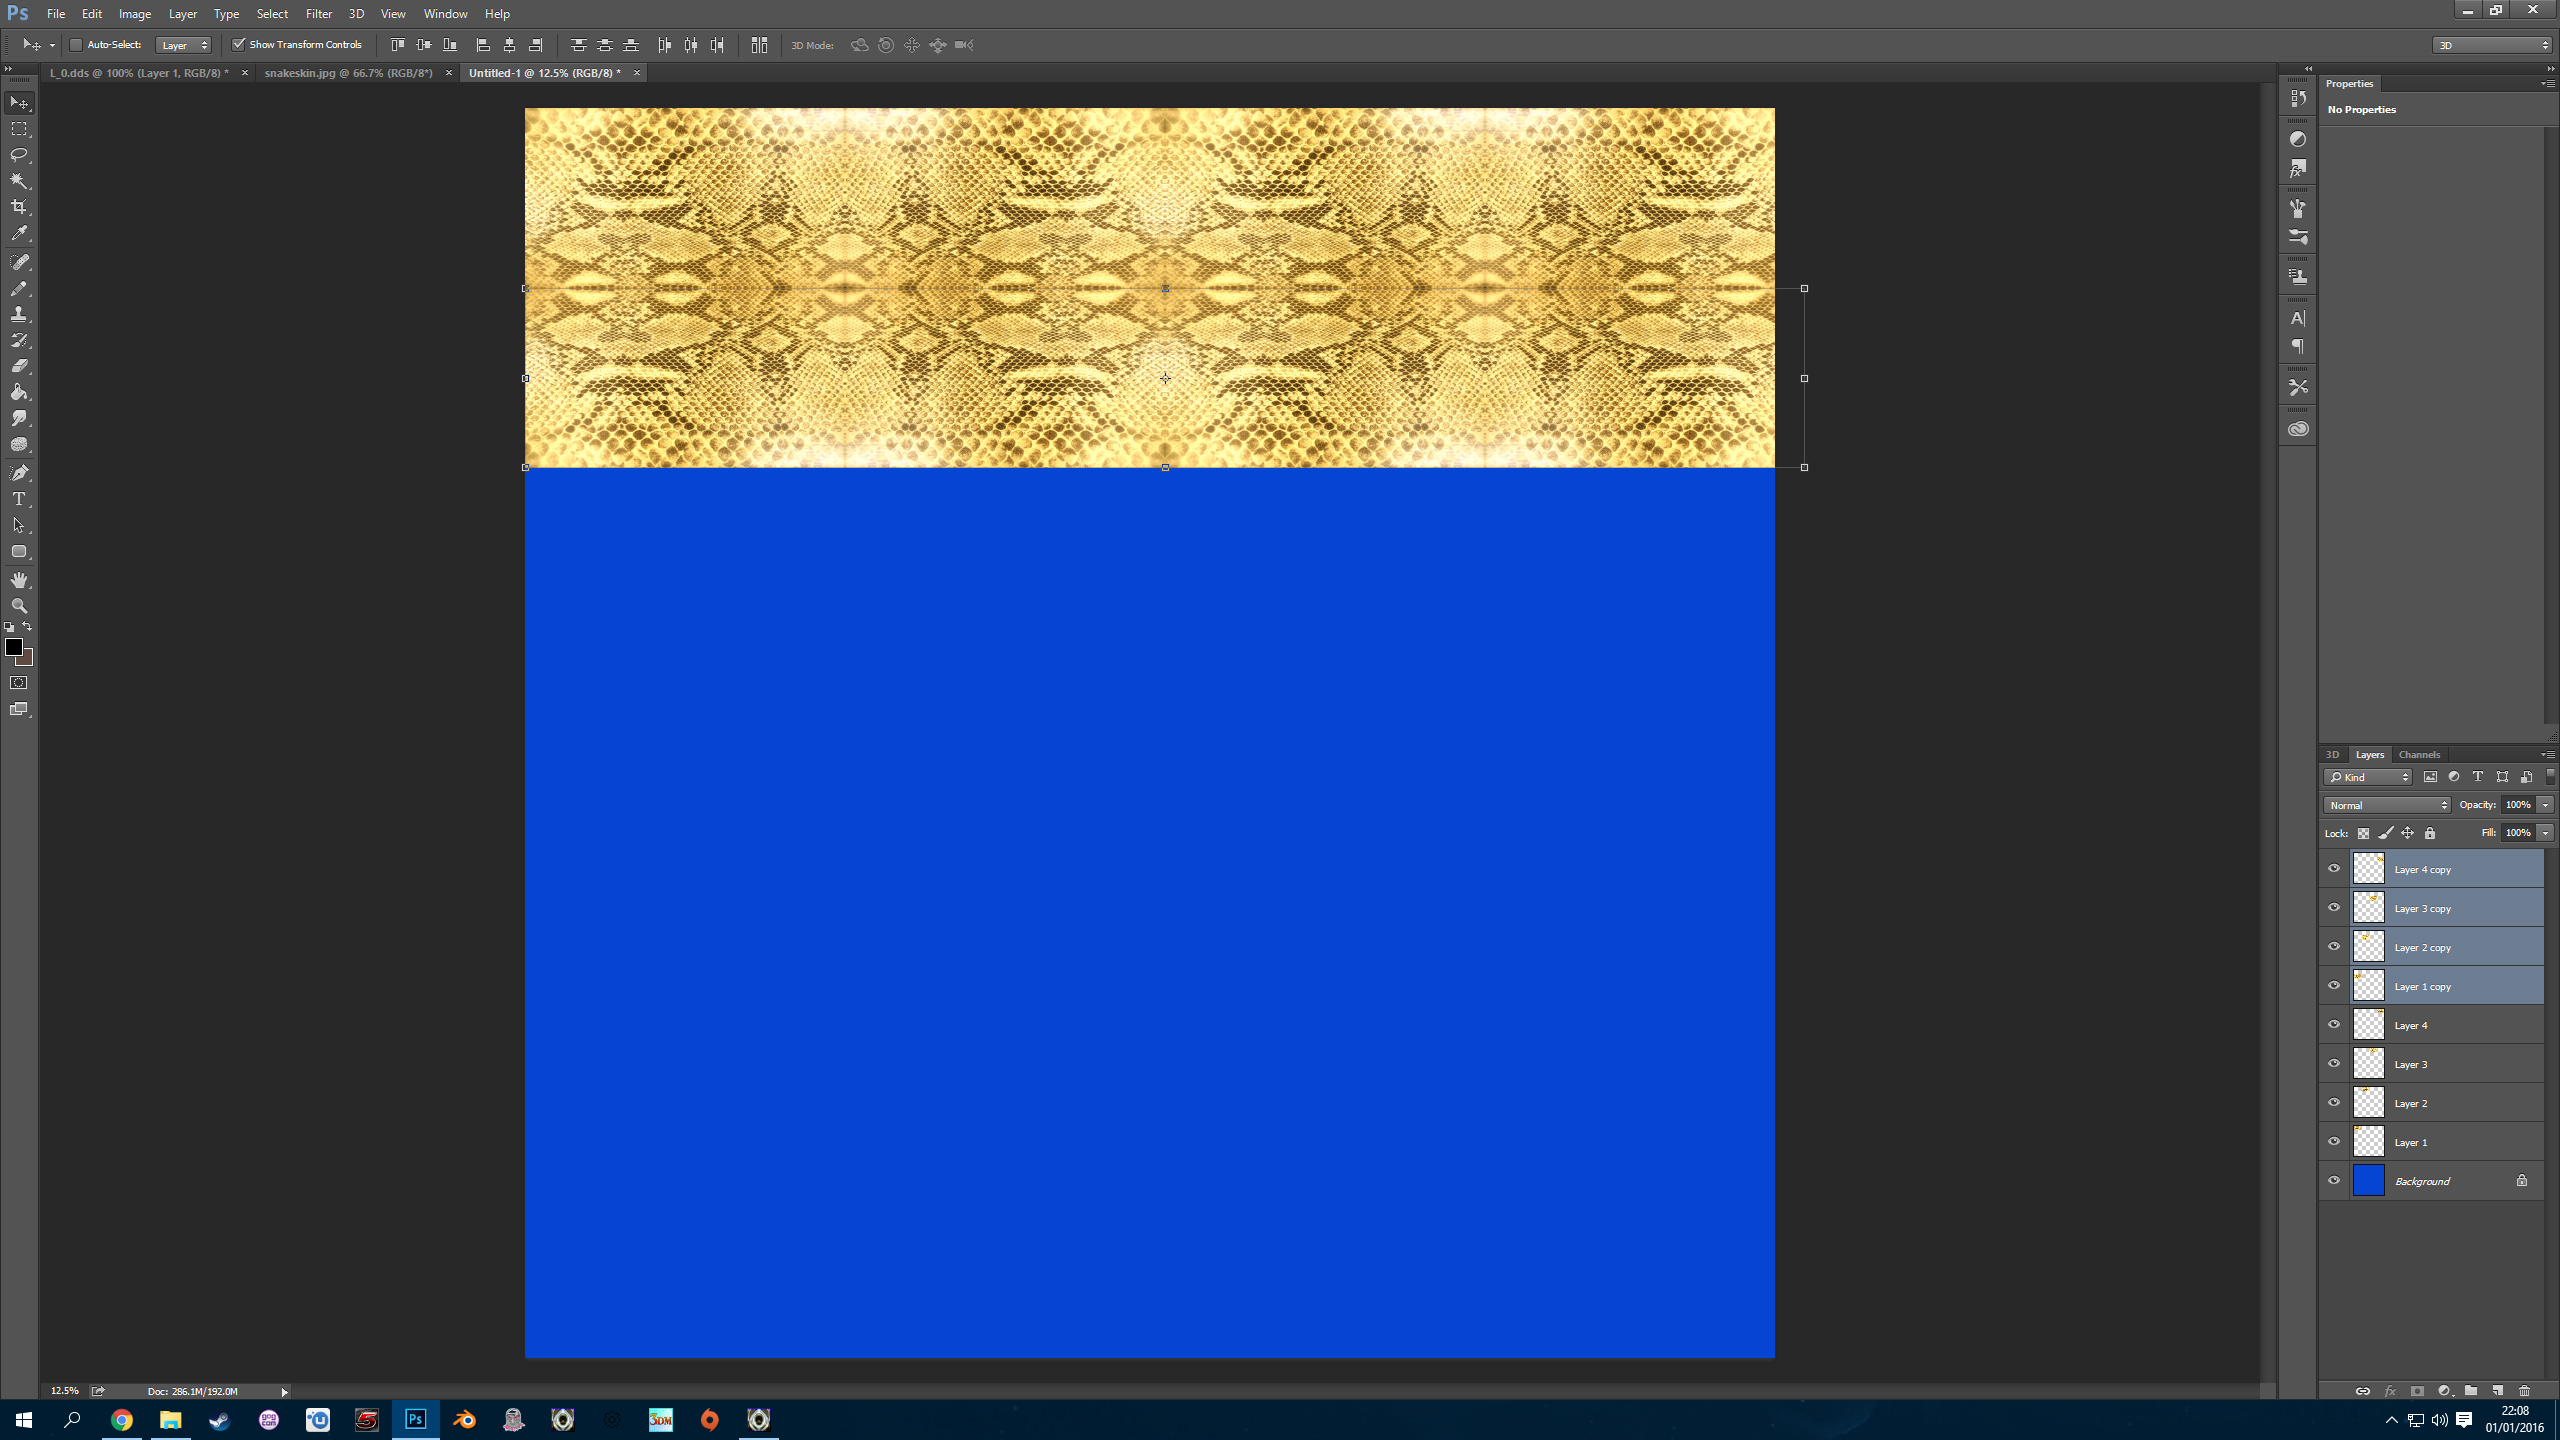
Select layer menu, new, layer via copy. It looks like nothing has changed but now you have two copies of the above image. drag the new one below.
Now due to the original texture not being uniform, they don't quite go together so we'll try and flip the new copy vertically.
Select edit menu, transform, flip vertical. Now we have this:
Now select all of your 8 layers on the right hand side, select layer menu, new, layer via copy. We now have this:
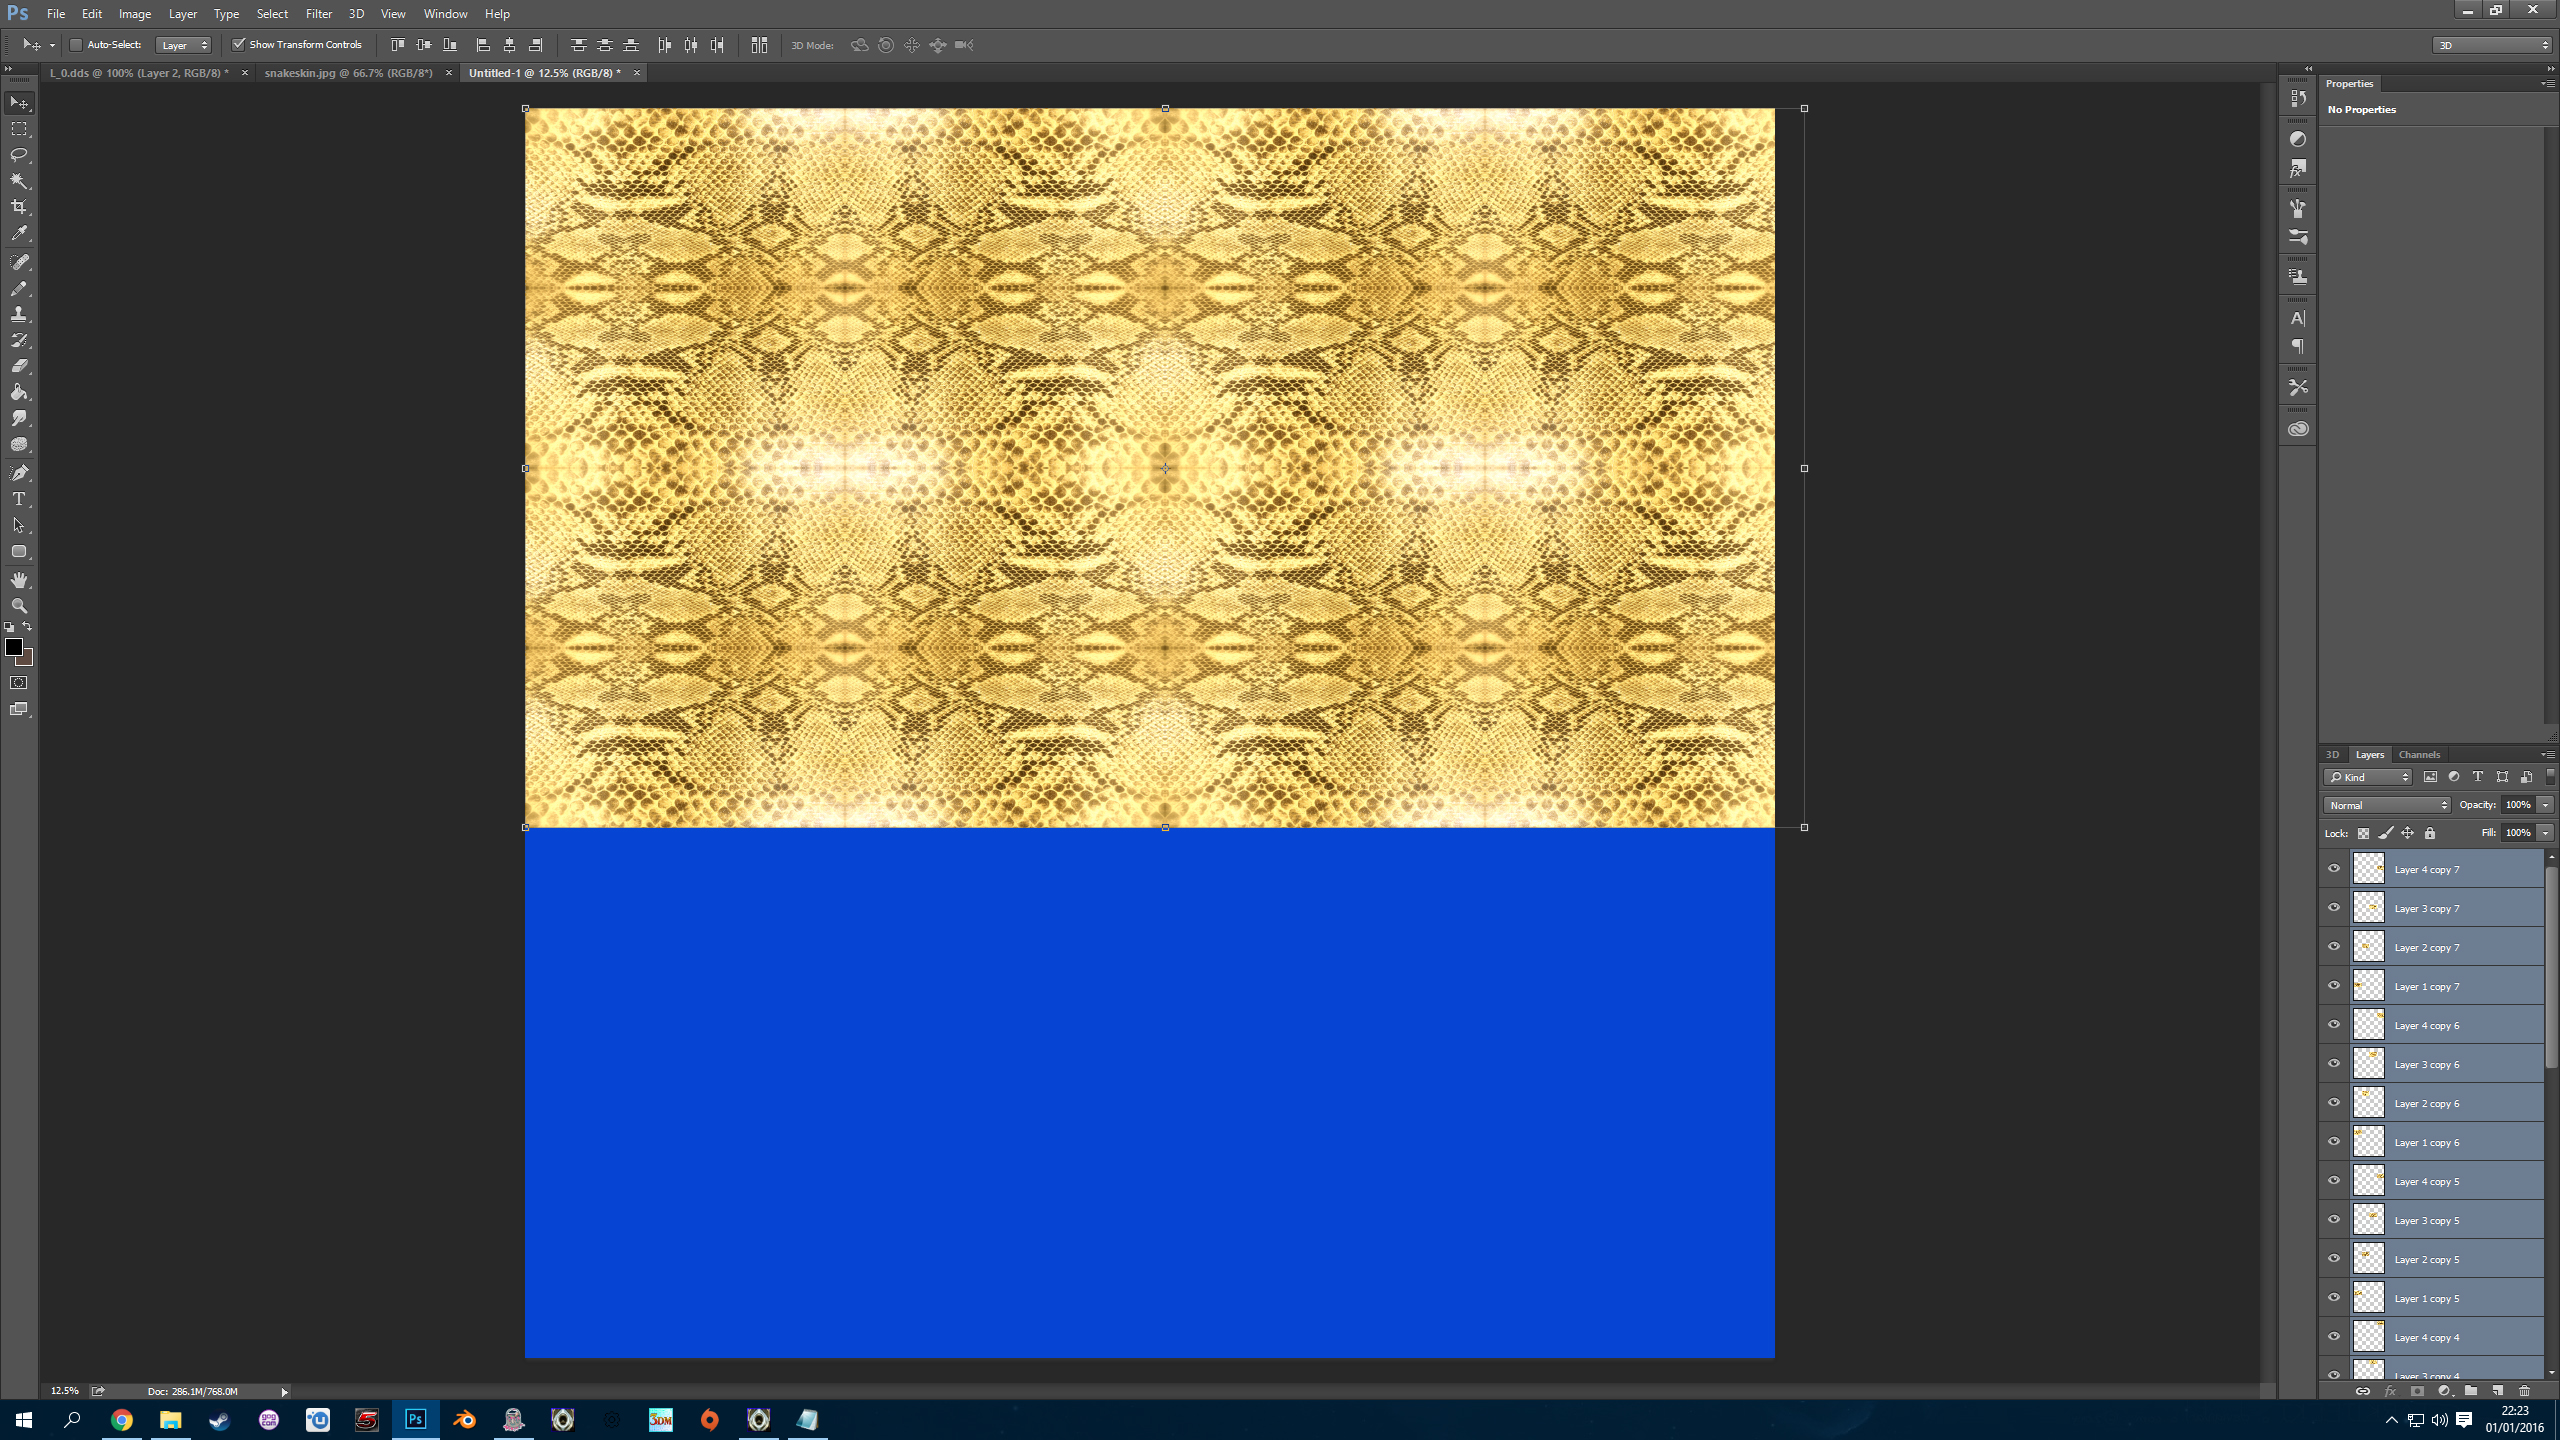
You can carry on doing this to complete the image but this will be enough textures for what we need. Lets leave this image for now.
OK, let open the extracted textures for the costume we want to edit:

As you can see I have also added the tmc, tmcl, c and p files (from another costume, as this one has non) to this folder to create my mod later.
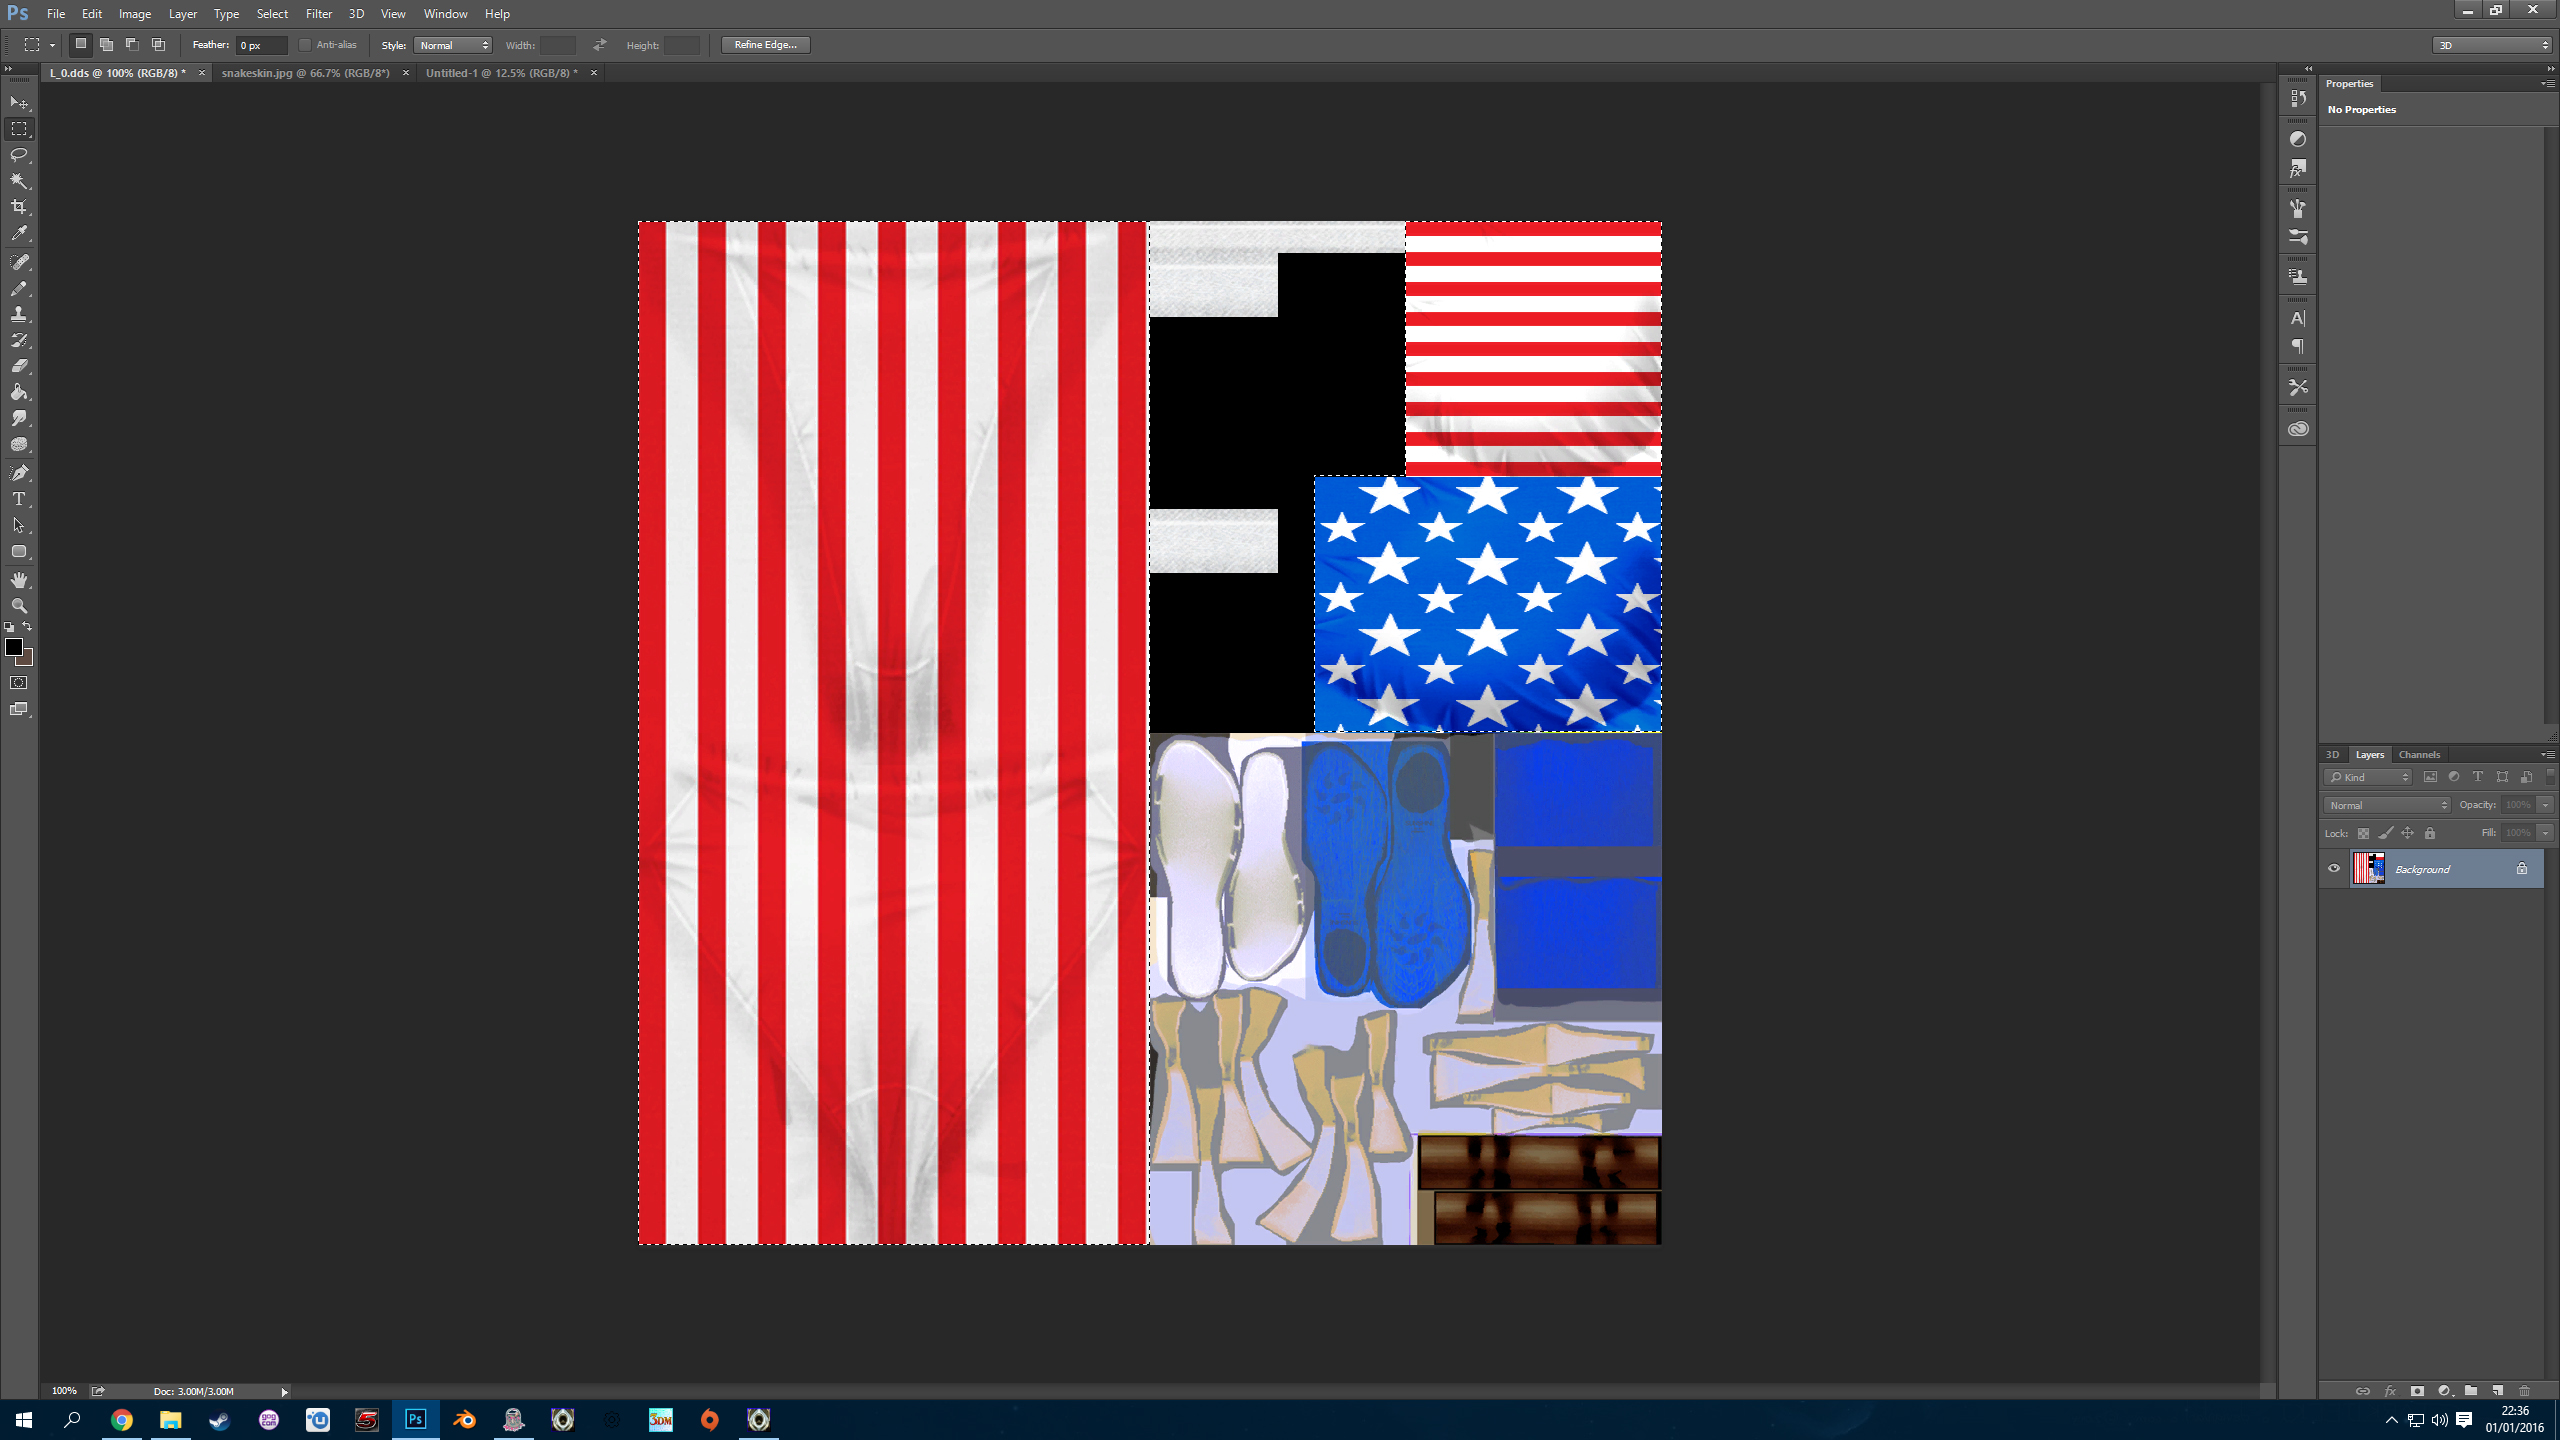
Now this is a simple costume and we can see clearly that L_0.dds is the texture we need to change, so open it.
This is going to be a very easy costume to edit As you can see, the stars and stripes textures are simple rectangles so all we need to do is...
select the rectangular marquee tool and drag it over all of the large stripes texture. To select the small stripes texture and the stars texture, simply hold the shift key whilst dragging over them. You should now have this:
Now go back to your new snake skin image and drag your rectangular marquee tool over the skin texture.
select edit menu, copy merged. Go back to the L_0.dds (stars and stripes) texture and select edit menu, paste special, paste into. You should see this:
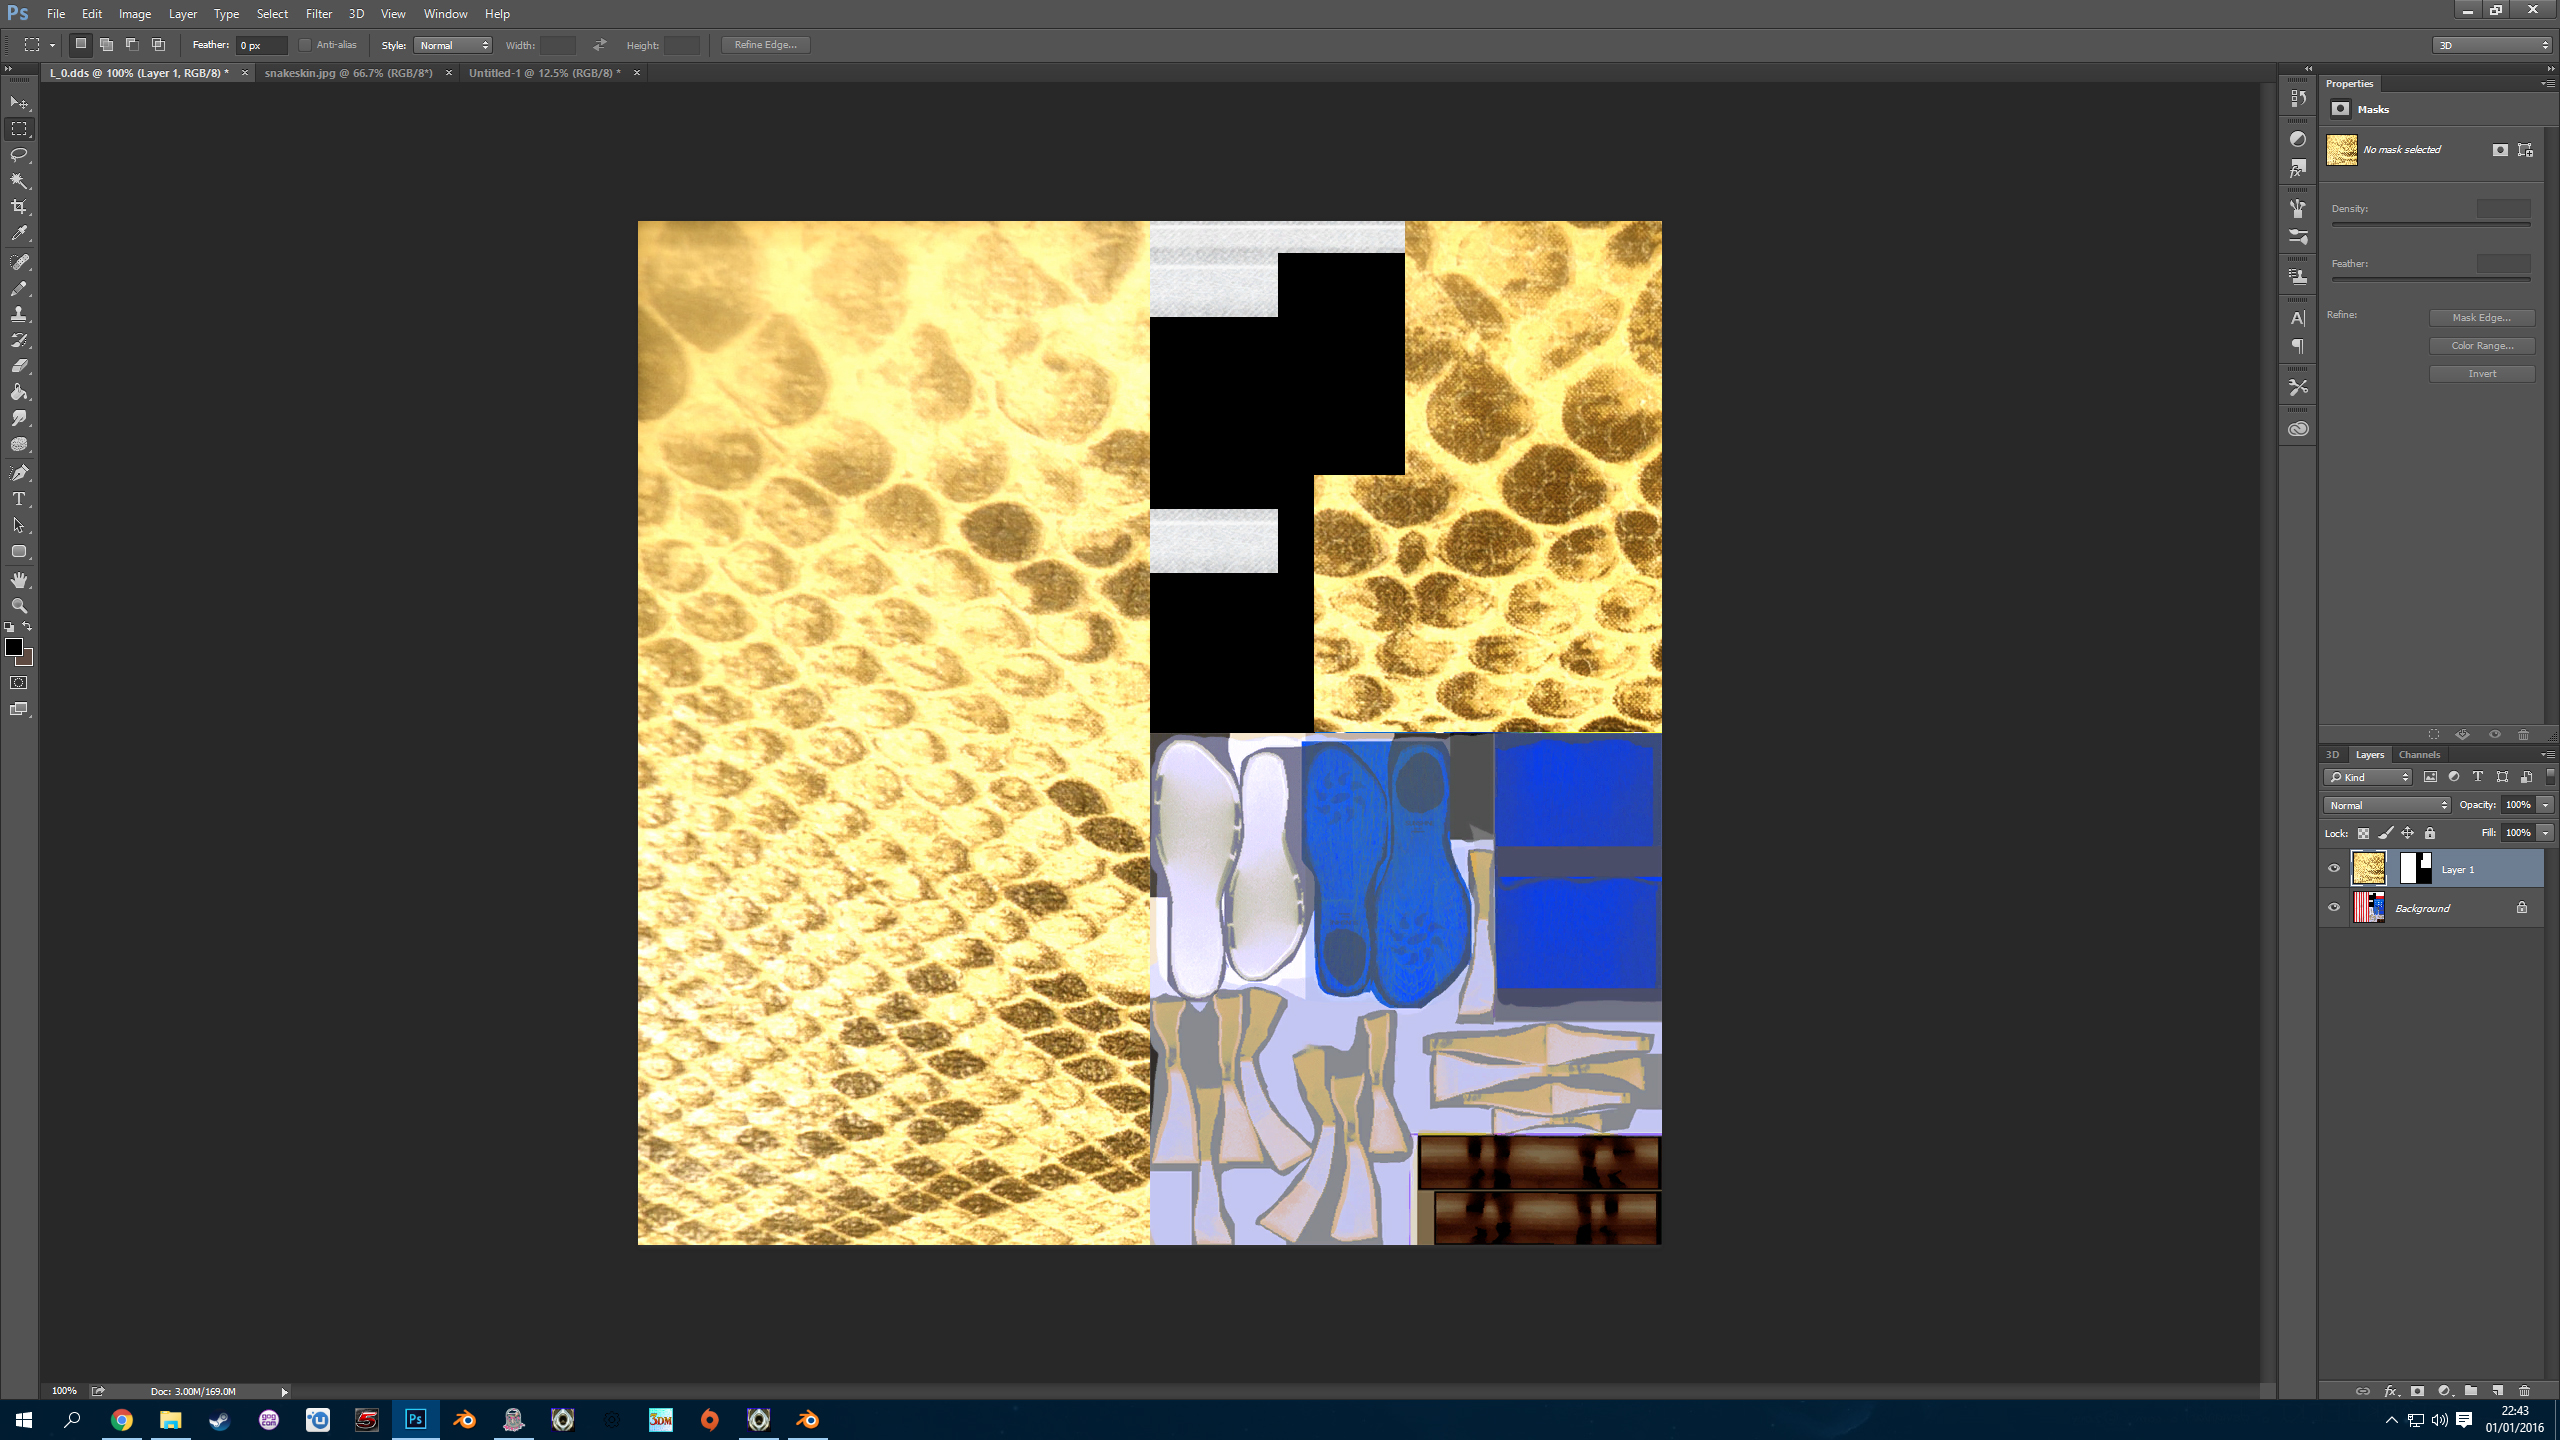
Our new snake skin texture is very large inside the L_0.dds image so we will now resize it and move it about until we are happy with it.
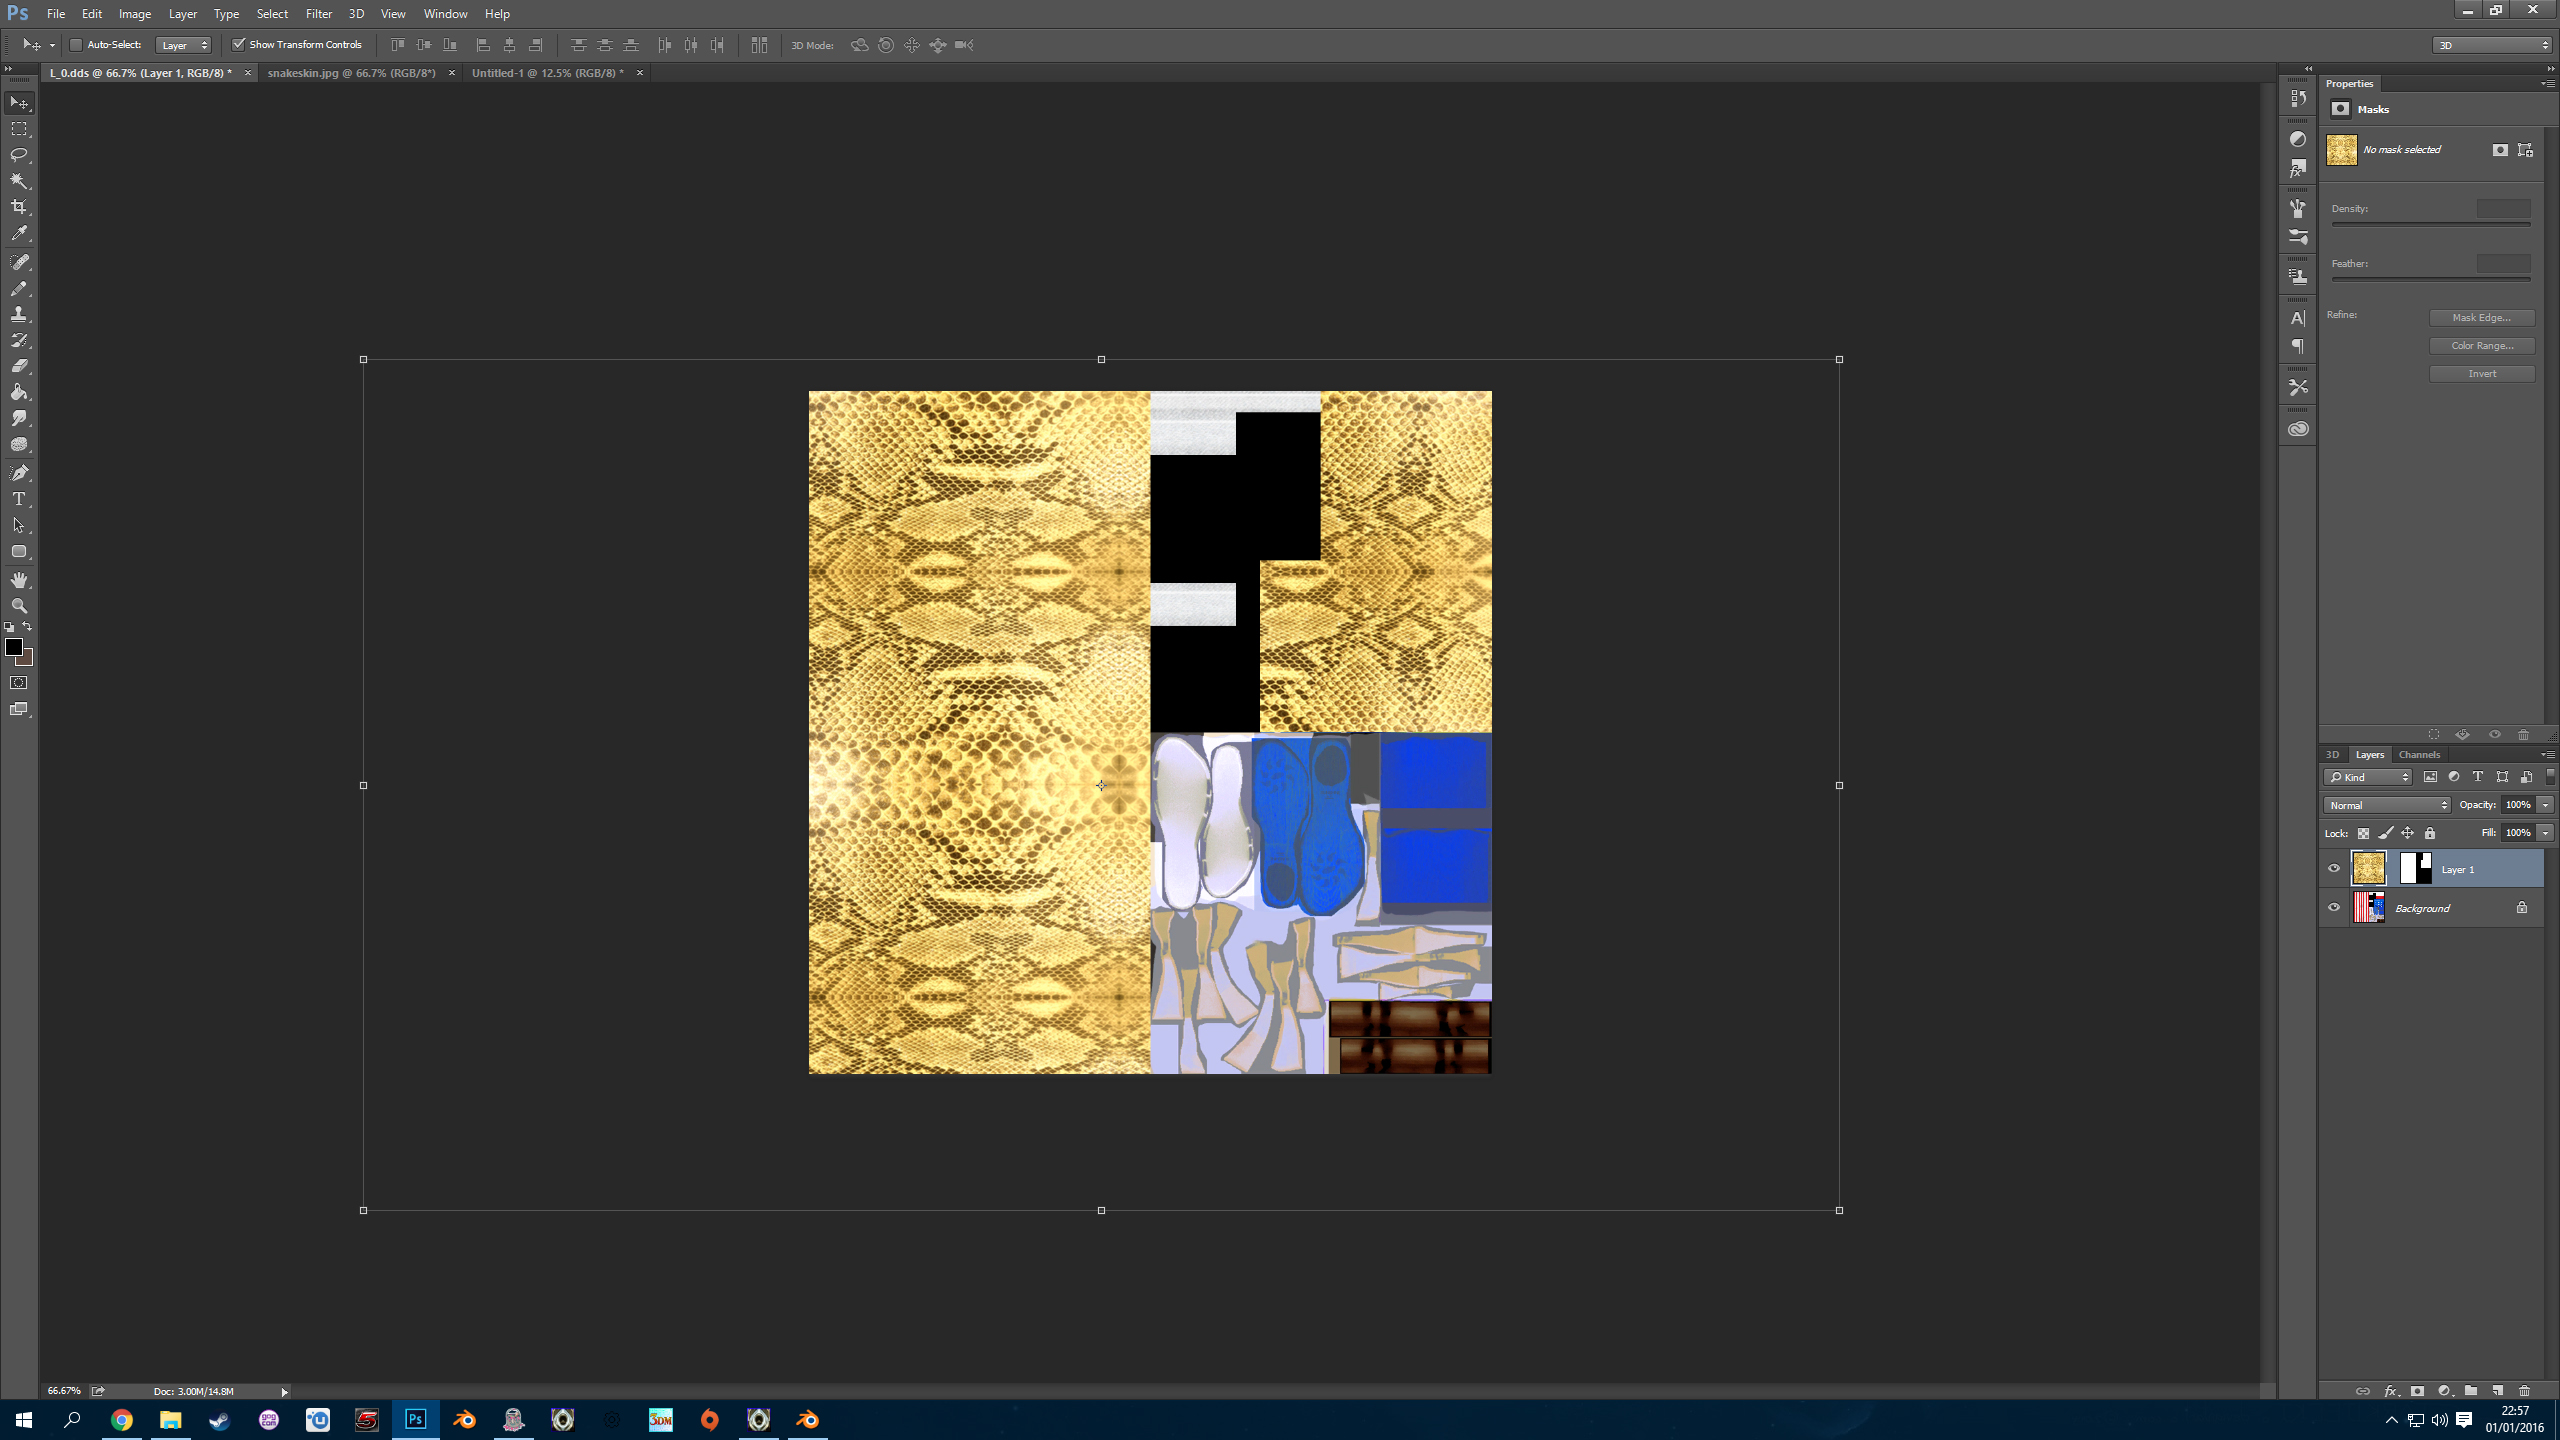
Select the move tool. Select edit menu, transform, scale then click the maintain aspect ratio button(just below the 3D menu).
Now resize the snake skin texture until you are happy with it. Mine now looks like this:
As you can see, I haven't quite used all of the texture and I have moved it about to remove as much of the light area as I can.
OK, the new texture is done I will now save it as the new texture so..
Select file menu, save as, change the save as type like this:
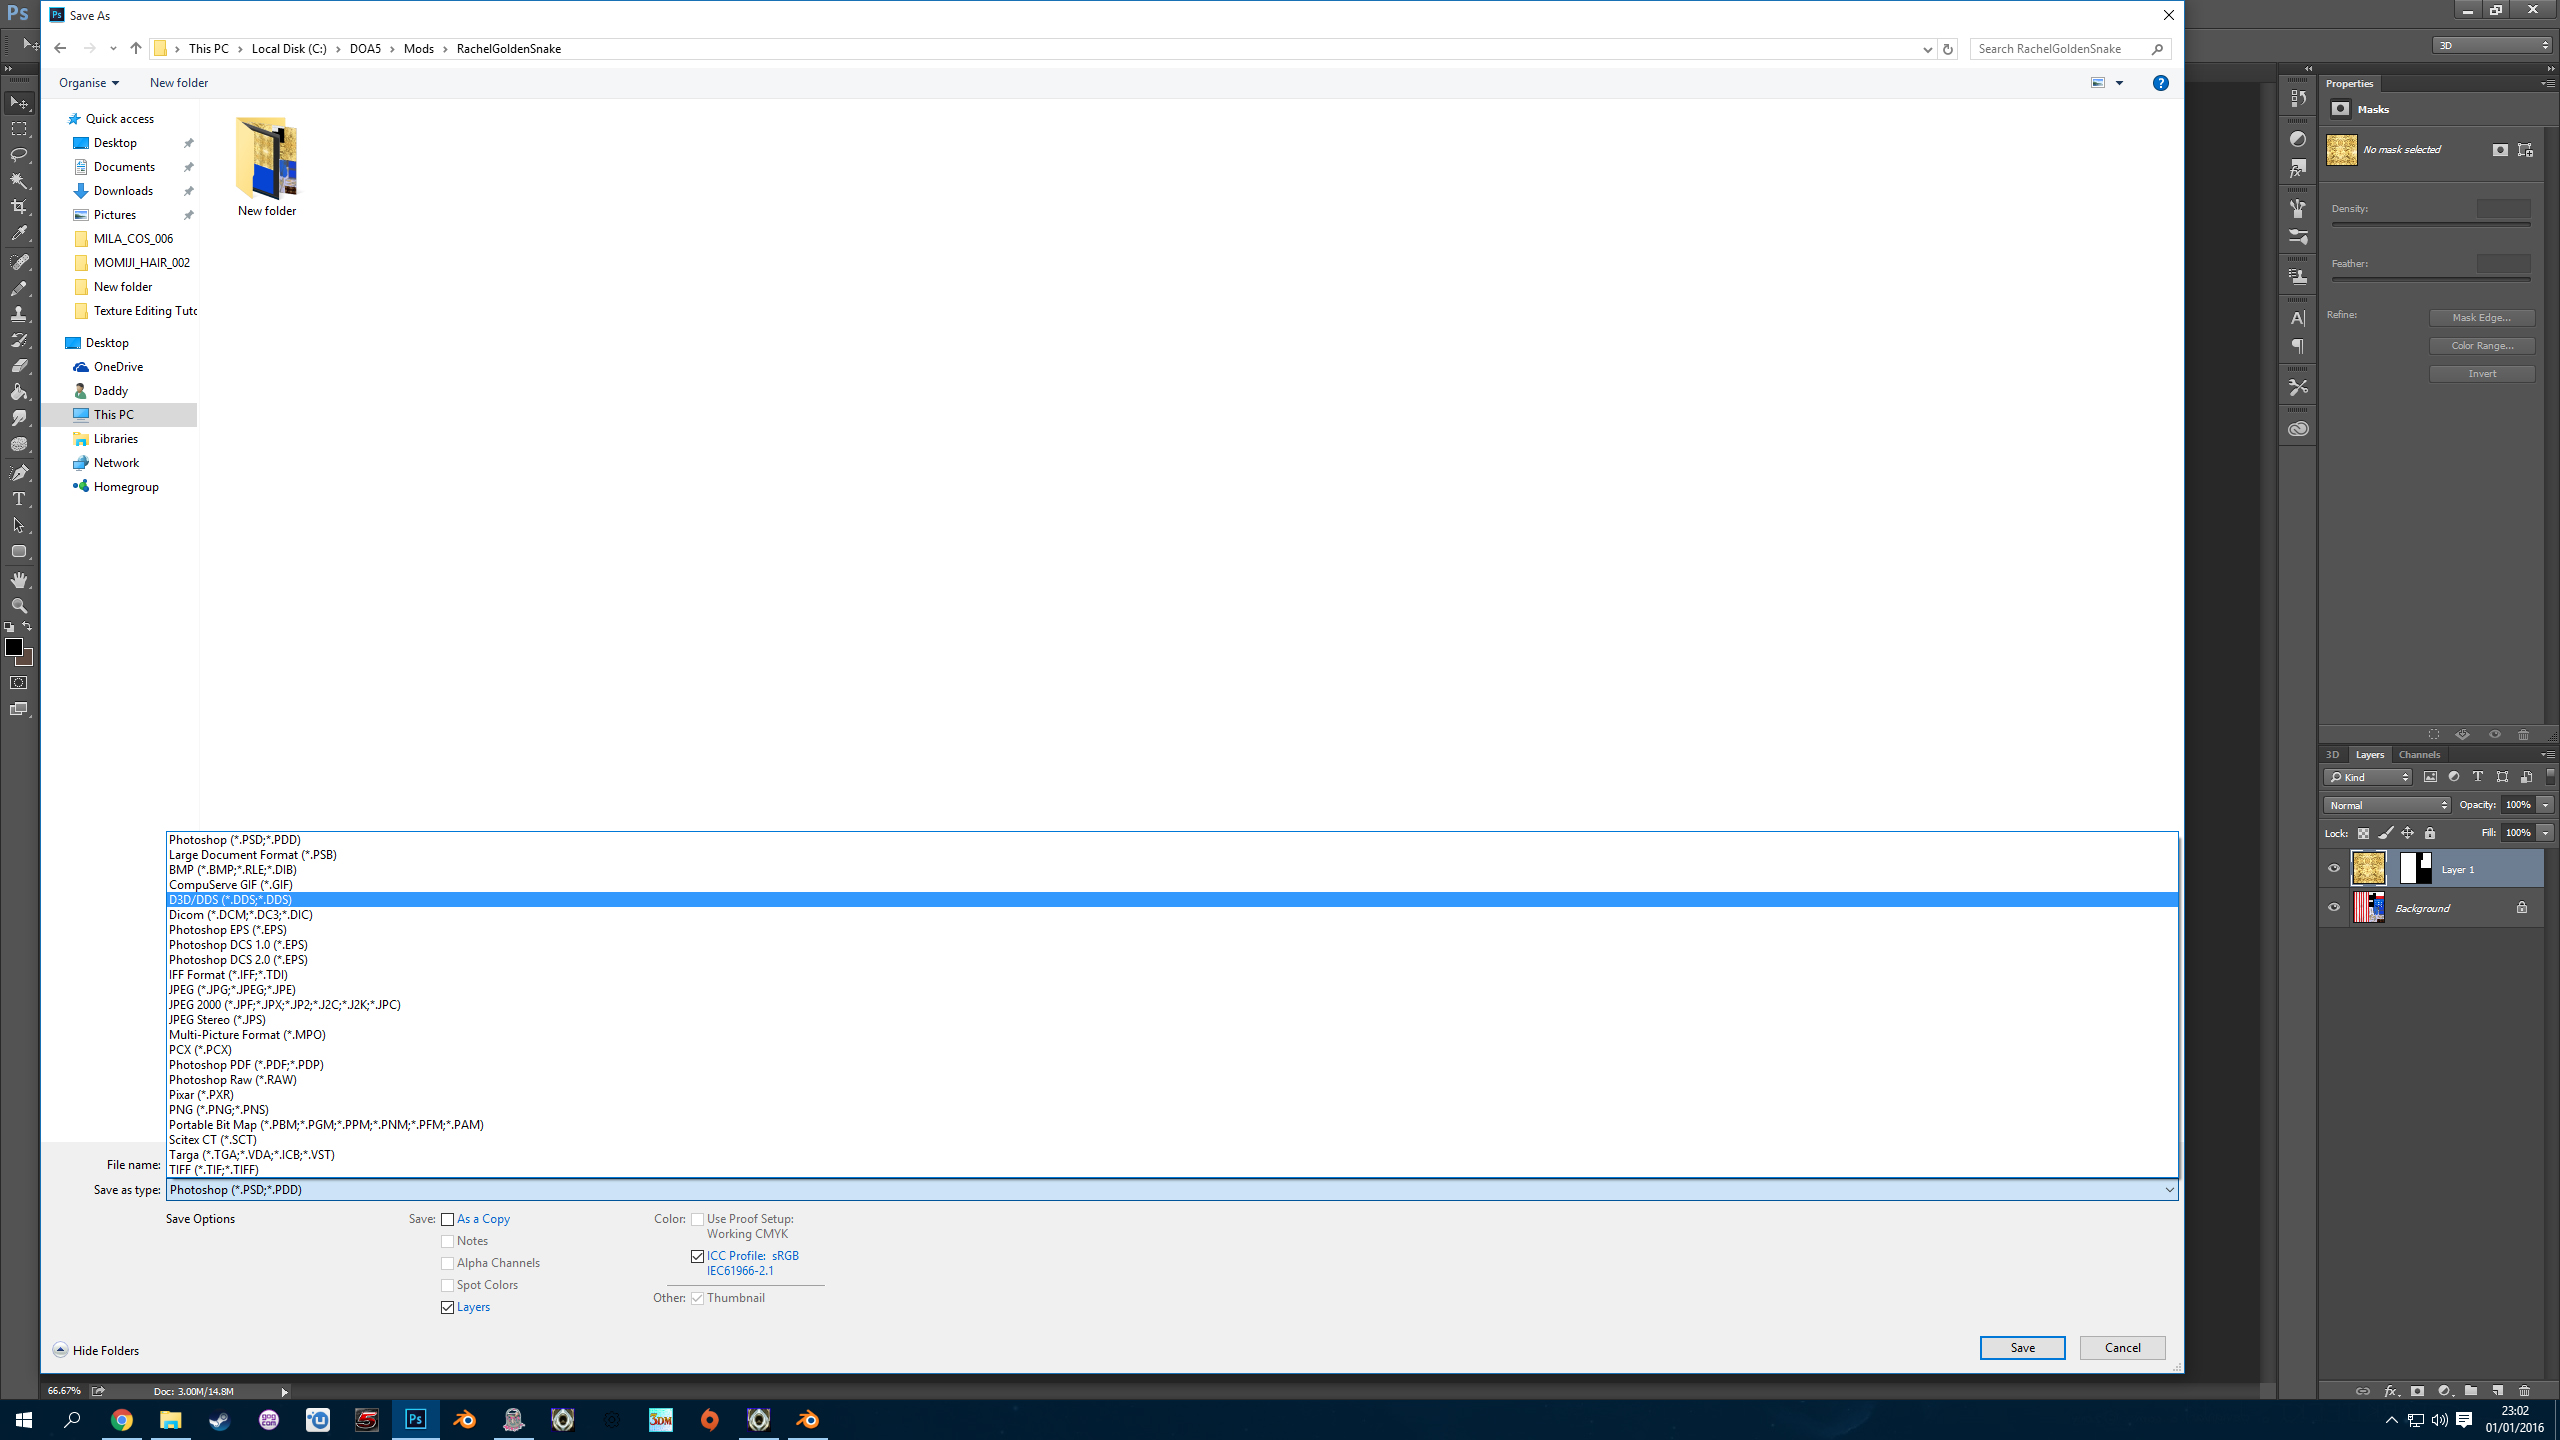
Now double click on the L_0.dds file we want to replace.
select dxt5 from the menu and save.
This is now what mine looks like:
You have created a texture file. Now you can install it using the beginners tutorial.
You will also want to replace the L_2.dds file with this texture. I think this is the wet version of the costume so you can play about making a wet version, or do as I do simply have it the same.
This costume is for Tina, if you want to put it on Rachel, You'll want to change the skin textures.
I recommend simply downloading a naked mod and using the skin texture from that to do this.
Texture colour changing
OK, now we are going to change the colour of the shoes and straps. There are a couple of useful tools for doing this.
First lets open our texture file L_0.dds. Now we are going to change the colour of the straps, so we need to select the rectangular marquee tool and drag it over the strap textures as below:

It can be very trial and error finding the textures you want, sometimes I paint things bright colours and save them in texture tool, load them in Noesis just to figure out where they are on the costume then simply use edit menu, step backward.
Select Image menu, adjustments, brightness and contrast and I'm going to lower the brightness to -110.
Now select image menu, adjustments, colour balance and move the sliders to get the colour you want.
Now I want my textures to be more yellow and I have pushed my yellow slider as far as it can go, so now I will click OK. There are a few things we can do here, you just have to play around with the different options.
I can go to image menu, adjustments and pick either vibrance, hue/saturation or colour balance to increase the yelllow.
I am going to use colour balance and just increase the yellow.
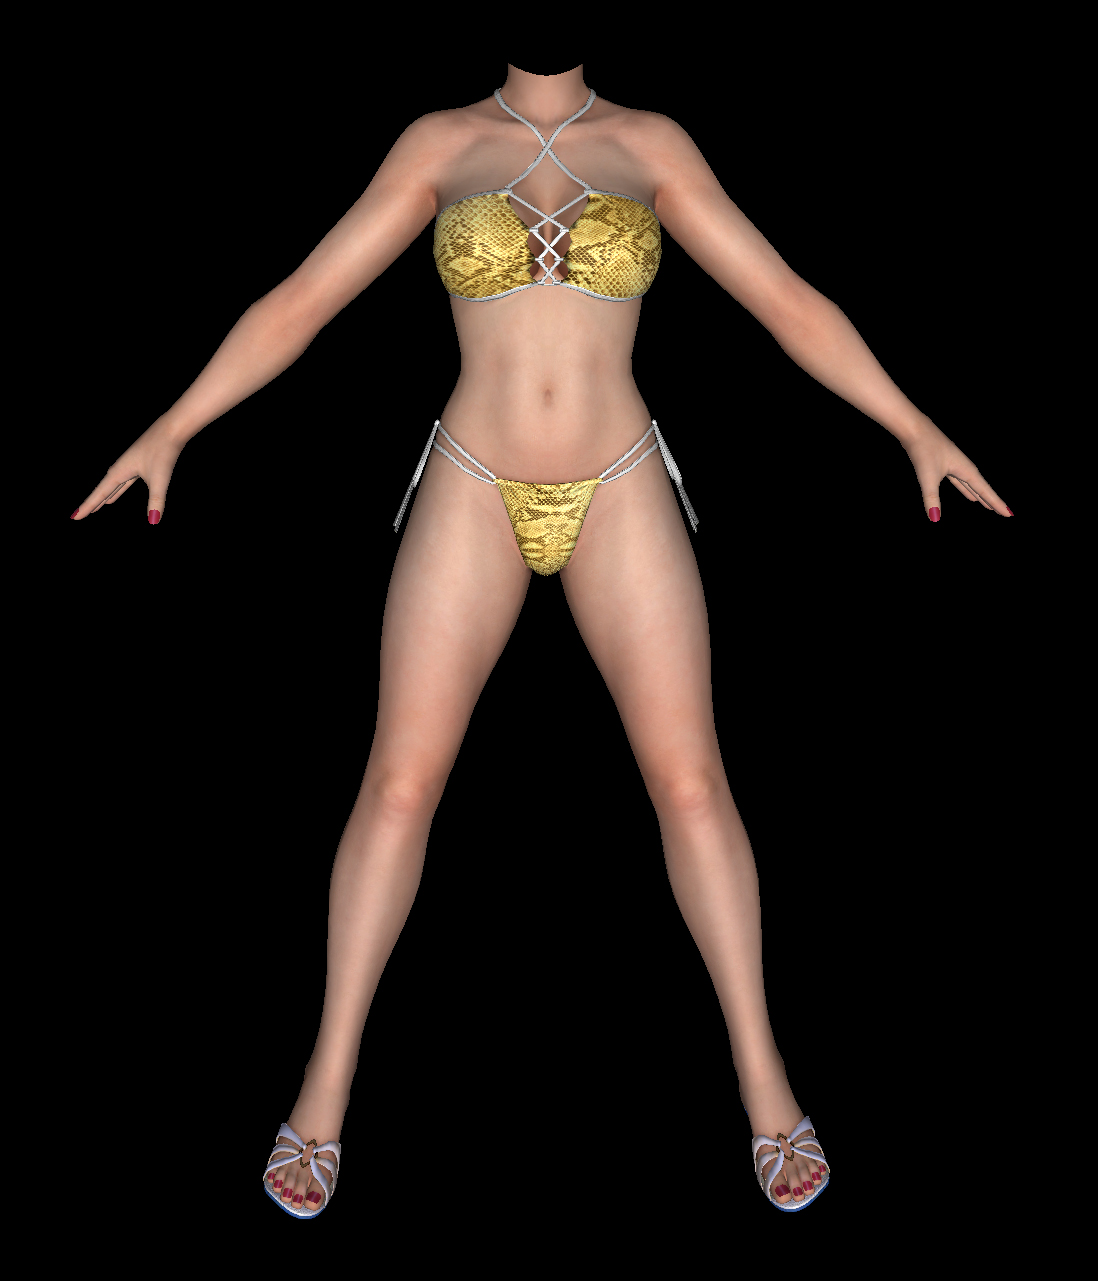
Now I'm going to save this texture and check it in noesis. I now have this:

Ok, now the shoes. First I am going to change the blue part of the shoes.
Select the Polygonal lasso tool shown below:

Left click on the top right corner of the shoe base and work your way around the texture by left clicking when you wish to change direction.
You don't have to be perfect as you can see below:

Select the rectangular marquee tool, hold shift and drag across the other blue texture.
Now you can change the colours of this part using the tools we used earlier.
Or select image menu, adjustments, replace colour, left click the colour to be changed using the eyedropper tool which is now selected for you.
Left click on any blue part of the texture until the colourless image (blue arrow) is as white as can be. This will take a few clicks.
The fuzziness slider above the image can be used to lessen the amount if you wish.
Now click on the result field (red arrow), a new window appears and here you can select your new colour. I'm going for a brown:

Now I am going to edit the last bits of the shoes. First I will use the rectangular marquee tool and the polygonal lasso tool select all of the parts.
Now I don't really need to do this next part but I'm going to so you know how for times you may need it.
Select image menu, adjustments, black & white then click OK in the next window.
This is so I can now image menu, adjustments, colour balance without having to contest with any existing colours.
Now change your colours as you wish and save.
Creating a normal map for your new textures
OK, this is quite easy to make a simple normal map.
With these tools (https://developer.nvidia.com/nvidia-texture-tools-adobe-photoshop) which you already have installed.
Open your new L_0.dds texture file.
Select Filter menu, 3D, normal map and a new window should open:

The only things we are going to use here are the Blur and Detail scale sliders. I am going to change blur to 0 and detail scale to 7%. Click OK.
Now select file menu, save as and select L_1.dds. this is the original normal map. Save this as a dxt5 file.
Done.
This will not show up that well in noesis.
Another tip is
Open your new L_0.dds texture file.
Select Filter menu, 3D, normal map
This time make the detail scale slider higher, say 40% and click OK.
Now open the original L_1.dds, use the rectangular marqee tool to select all ok the image.
Select edit menu, copy.
Go back to your new normal map image and paste.
On the right hand side, select the layer folder (blue arrow) then change the opacity slider to say 60%.

Now save your new normal map.
I don't think this is really needed for this costume but it does come in handy sometimes. Now you have your snake skin normal map with the creases of the costume from the original normal map.
I hope this helps some of you.
Before we start you'll need to have this plugin installed:
https://developer.nvidia.com/nvidia-texture-tools-adobe-photoshop
This is the texture we wish to use:
but there is a problem in that we need the snake skin to be the right size otherwise it will end up looking like this:
So first we're going to create a new snake skin image. If you select all of the snake skin image using the rectangular marquee tool shown:
then select edit menu, copy.
Now select file menu, new. This will create and image the size of which you have just copied so change the size to 10000 and 10000 like this:
Select OK.
So you should now have a blank canvas, select edit menu, paste then select the move tool, pick your texture up and move it to the top left of your blank canvas.
Select edit menu, paste, move tool and place the next texture beside the other one. Now this texture is not uniform so we will have to flip it about to try and make them work better together. Select edit menu, transform, flip horizontal. Now to two texture look a little better together. Do this again until you have this image:
Select layer menu, new, layer via copy. It looks like nothing has changed but now you have two copies of the above image. drag the new one below.
Now due to the original texture not being uniform, they don't quite go together so we'll try and flip the new copy vertically.
Select edit menu, transform, flip vertical. Now we have this:
Now select all of your 8 layers on the right hand side, select layer menu, new, layer via copy. We now have this:
You can carry on doing this to complete the image but this will be enough textures for what we need. Lets leave this image for now.
OK, let open the extracted textures for the costume we want to edit:
As you can see I have also added the tmc, tmcl, c and p files (from another costume, as this one has non) to this folder to create my mod later.
Now this is a simple costume and we can see clearly that L_0.dds is the texture we need to change, so open it.
This is going to be a very easy costume to edit As you can see, the stars and stripes textures are simple rectangles so all we need to do is...
select the rectangular marquee tool and drag it over all of the large stripes texture. To select the small stripes texture and the stars texture, simply hold the shift key whilst dragging over them. You should now have this:
Now go back to your new snake skin image and drag your rectangular marquee tool over the skin texture.
select edit menu, copy merged. Go back to the L_0.dds (stars and stripes) texture and select edit menu, paste special, paste into. You should see this:
Our new snake skin texture is very large inside the L_0.dds image so we will now resize it and move it about until we are happy with it.
Select the move tool. Select edit menu, transform, scale then click the maintain aspect ratio button(just below the 3D menu).
Now resize the snake skin texture until you are happy with it. Mine now looks like this:
As you can see, I haven't quite used all of the texture and I have moved it about to remove as much of the light area as I can.
OK, the new texture is done I will now save it as the new texture so..
Select file menu, save as, change the save as type like this:
Now double click on the L_0.dds file we want to replace.
select dxt5 from the menu and save.
This is now what mine looks like:
You have created a texture file. Now you can install it using the beginners tutorial.
You will also want to replace the L_2.dds file with this texture. I think this is the wet version of the costume so you can play about making a wet version, or do as I do simply have it the same.
This costume is for Tina, if you want to put it on Rachel, You'll want to change the skin textures.
I recommend simply downloading a naked mod and using the skin texture from that to do this.
Texture colour changing
OK, now we are going to change the colour of the shoes and straps. There are a couple of useful tools for doing this.
First lets open our texture file L_0.dds. Now we are going to change the colour of the straps, so we need to select the rectangular marquee tool and drag it over the strap textures as below:
It can be very trial and error finding the textures you want, sometimes I paint things bright colours and save them in texture tool, load them in Noesis just to figure out where they are on the costume then simply use edit menu, step backward.
Select Image menu, adjustments, brightness and contrast and I'm going to lower the brightness to -110.
Now select image menu, adjustments, colour balance and move the sliders to get the colour you want.
Now I want my textures to be more yellow and I have pushed my yellow slider as far as it can go, so now I will click OK. There are a few things we can do here, you just have to play around with the different options.
I can go to image menu, adjustments and pick either vibrance, hue/saturation or colour balance to increase the yelllow.
I am going to use colour balance and just increase the yellow.
Now I'm going to save this texture and check it in noesis. I now have this:
Ok, now the shoes. First I am going to change the blue part of the shoes.
Select the Polygonal lasso tool shown below:
Left click on the top right corner of the shoe base and work your way around the texture by left clicking when you wish to change direction.
You don't have to be perfect as you can see below:
Select the rectangular marquee tool, hold shift and drag across the other blue texture.
Now you can change the colours of this part using the tools we used earlier.
Or select image menu, adjustments, replace colour, left click the colour to be changed using the eyedropper tool which is now selected for you.
Left click on any blue part of the texture until the colourless image (blue arrow) is as white as can be. This will take a few clicks.
The fuzziness slider above the image can be used to lessen the amount if you wish.
Now click on the result field (red arrow), a new window appears and here you can select your new colour. I'm going for a brown:
Now I am going to edit the last bits of the shoes. First I will use the rectangular marquee tool and the polygonal lasso tool select all of the parts.
Now I don't really need to do this next part but I'm going to so you know how for times you may need it.
Select image menu, adjustments, black & white then click OK in the next window.
This is so I can now image menu, adjustments, colour balance without having to contest with any existing colours.
Now change your colours as you wish and save.
Creating a normal map for your new textures
OK, this is quite easy to make a simple normal map.
With these tools (https://developer.nvidia.com/nvidia-texture-tools-adobe-photoshop) which you already have installed.
Open your new L_0.dds texture file.
Select Filter menu, 3D, normal map and a new window should open:
The only things we are going to use here are the Blur and Detail scale sliders. I am going to change blur to 0 and detail scale to 7%. Click OK.
Now select file menu, save as and select L_1.dds. this is the original normal map. Save this as a dxt5 file.
Done.
This will not show up that well in noesis.
Another tip is
Open your new L_0.dds texture file.
Select Filter menu, 3D, normal map
This time make the detail scale slider higher, say 40% and click OK.
Now open the original L_1.dds, use the rectangular marqee tool to select all ok the image.
Select edit menu, copy.
Go back to your new normal map image and paste.
On the right hand side, select the layer folder (blue arrow) then change the opacity slider to say 60%.
Now save your new normal map.
I don't think this is really needed for this costume but it does come in handy sometimes. Now you have your snake skin normal map with the creases of the costume from the original normal map.
I hope this helps some of you.
Last edited:
 !
!